How to Repair Damaged Furniture


Here’s a super simple trick on how to repair damaged furniture. A lot of old furniture is damaged in some way, whether it’s your own furniture or a thrift find. So let’s learn to repair those chewed up marks, holes, chipping veneer, hardware holes, large scratches, missing corners, trim etc.
If you’re interested in repairing old furniture, you’ve come to the right place! With a little bit of effort and some tips and tricks, you can transform damaged furniture into a beautiful piece that will last for years to come.

The process is the same no matter what you’re trying to repair. But once you paint it, no one will see the difference.

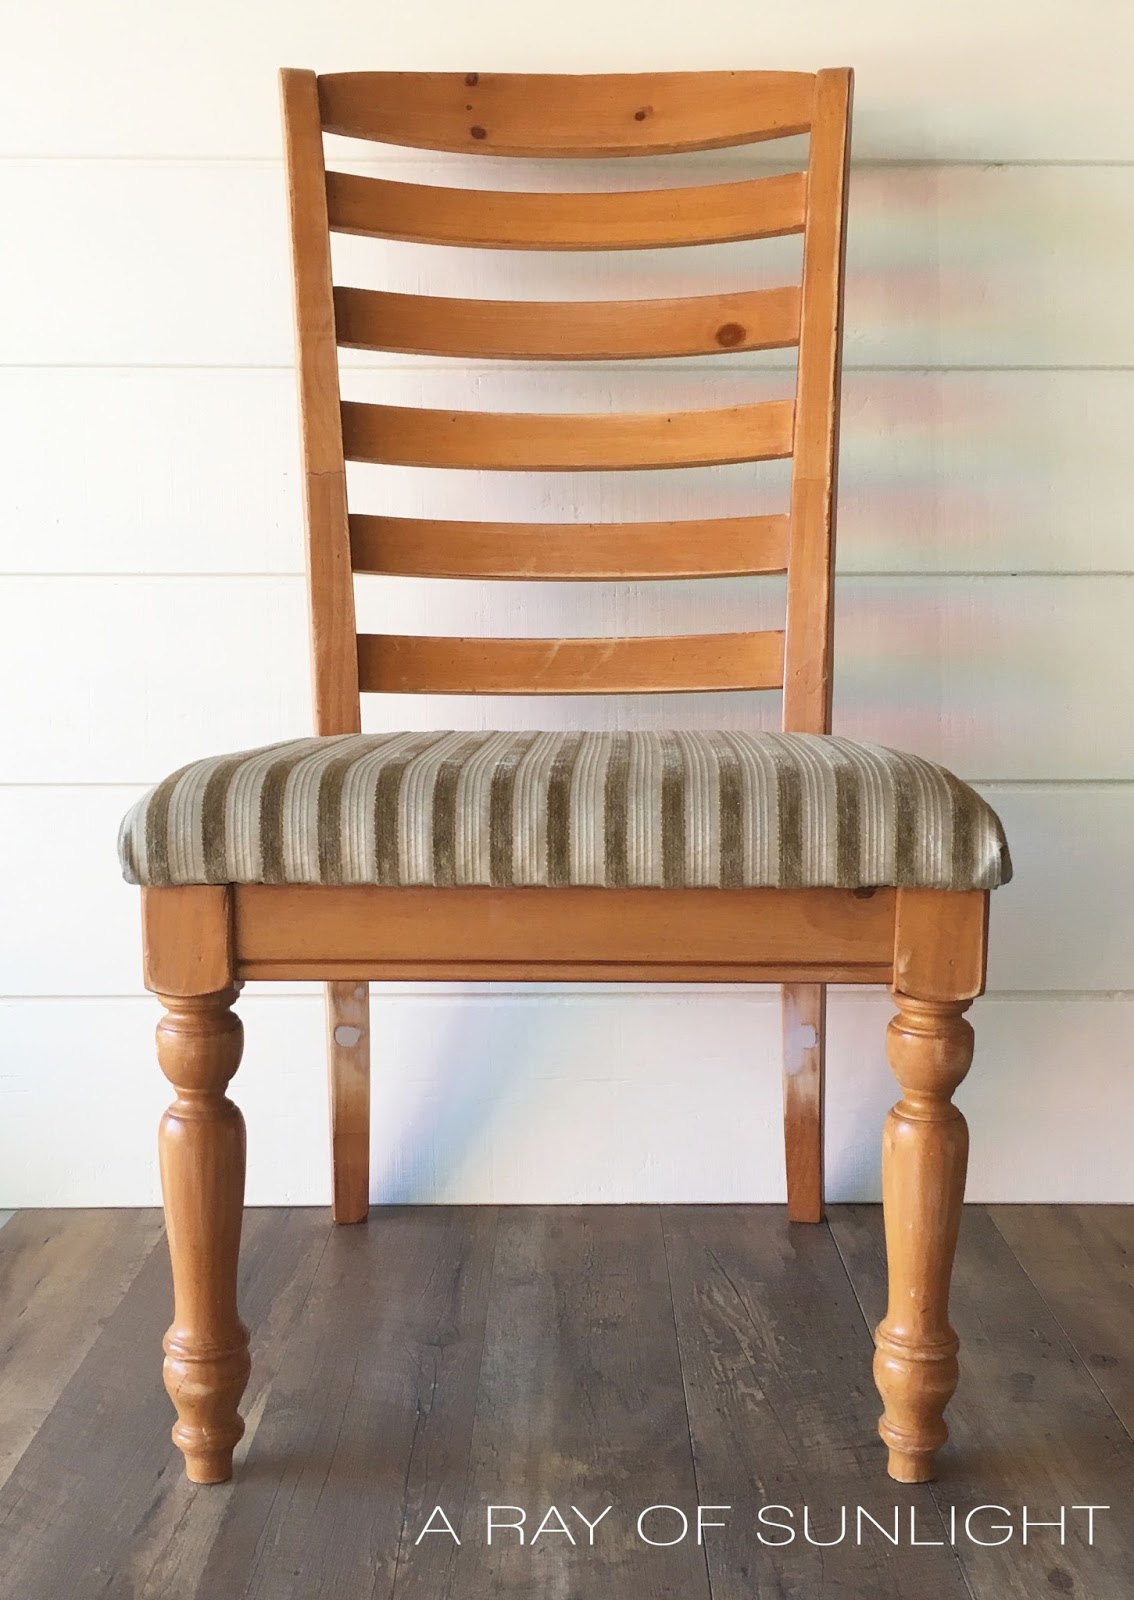
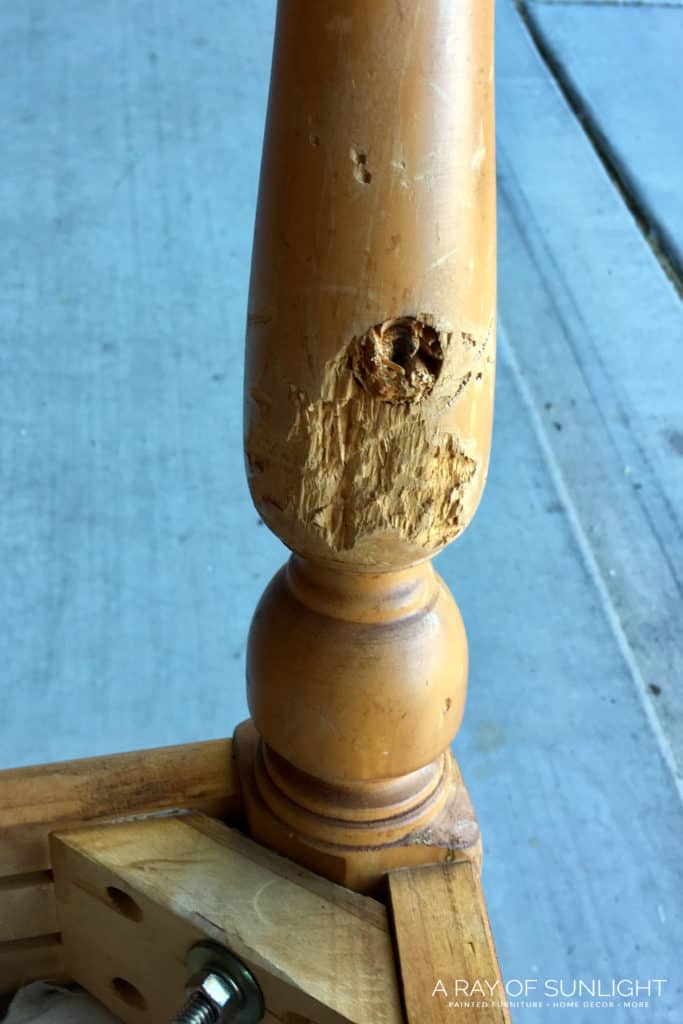
When we bought these chairs, they had bite marks on some of the legs as well as holes where I imagine leg braces used to be.
Supplies Used to Repair Damaged Furniture
As an Amazon Associate, I earn from qualifying purchases. I also may earn from other qualifying purchases with other companies or get free product to review and use. All opinions are my own.
- Sandpaper
- Bondo
- Plastic Spreader
- Razor Blade Scraper – Not the exact one I used, but I prefer this style for this job.
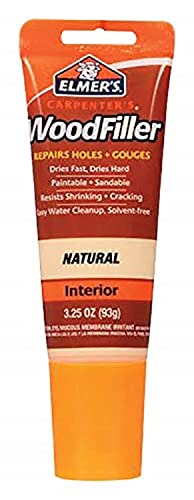
- Wood Filler
If that chewed-up damage looks similar to your furniture and you want to get the damage fixed before you paint your furniture, you’re in the right place. You can also check out how to fix dog chewed wood trim here.
Get Our Secrets!
Grab this super convenient How to Repair Furniture Ebook with all of our secrets on how to repair furniture for only $14.
You can print it out and have instant access whenever you come across damaged furniture, and know exactly how to fix it!
Click on the picture of the book to purchase!

These dining chairs had some pretty good damage, but we wanted to paint them and we sure didn’t want that big hole or the scratches there.
Using Bondo is pretty simple and quick. It’s way faster than wood filler, especially when you are filling in deep holes and it drys a lot harder too! See how Bondo compares with the rest of the best wood fillers.
How to Repair Damaged Furniture
Sand around all of the holes with 220 grit sandpaper, then wipe the dust off. Mix up the Bondo (per the instructions of the can) and fill in all the holes, bite marks and gouges, broken corners, or any other damage with your plastic spreader.

*Tip: Mix up small batches of Bondo, and work fast. It dries quickly!
*Extra Tip: Use extra Bondo when filling holes, so they are overfilled a little but this helps so you don’t need to keep applying layers of Bondo.
Once the Bondo is set, but not hard (about 5-10 minutes) use a utility knife to cut/scrape away the excess Bondo. Without this step, it will take a long time to sand the Bondo smooth, because once the Bondo is completely hard and dry it gets really hard to sand.
If you find any nicks on the wood furniture and want to fix it, here’s how to fix nicks in wood furniture!

After the Bondo is completely dry (overnight is good) sand the Bondo smooth with 100 grit sandpaper and up to 220 grit sandpaper. Fill any small imperfections with wood filler. Or apply another thin coat of Bondo.
Now you can paint! Check out this post on the best paint for furniture, and this guide on the best painted furniture colors to help you choose the right shade. If you’re dealing with some leg damage, check out this guide on how to fix a broken table leg.
Here is a video showing a very similar fix using Bondo!

Can you Stain Bondo?
Bondo will not take stain like wood does. Actually, no wood filler absorbs wood stain like wood does.
Check out this wood stain repair tutorial on how I used paint to stain and match the wood color of some repaired furniture.
If you want to make Bondo blend in with wood, it is best to use this Bondo wood filler. It mixes up just like regular Bondo, but it looks more like wood filler.
When the Bondo is set and dry, you can use different shades of gel stain to hide the repair. Check out this post about repairing chipped veneer furniture to learn how to stain Bondo wood filler!
This is a good video that explains the process. But with another one of my favorite products for wood repair, KwikWood!
Would you like to save this?
Learn more about how I use Kwikwood to fill in hardware holes when changing hardware on a dresser.
Like this video shows, you can paint gel stain on the filler to mimic wood stain. Gel stain can fix wood filler that won’t stain!
How long does Bondo take to dry?
It depends on the weather and how much hardener you mixed into the base, but it should be hardening enough that you can’t spread it after 5 minutes.
The back of the can says that it cures in 20 -30 minutes. After it has cured, you can sand it down.
Can Bondo be used on wood?
Yes! The pink auto body filler can even be used on wood! (That’s the kind I prefer to use because you can see if enough red hardener was mixed in or not).
Bondo can also be used on aluminum, concrete, and fiberglass.
Best way to sand Bondo?
Shaping the Bondo with a utility knife before it completely dries really helps when it comes to sanding Bondo.
But there is still going to be sanding involved to get it nice and smooth. If you can, sand the Bondo down with a power sander and 220 grit sandpaper.
Check out the best sanders for furniture and the best sandpaper for furniture here.
If you are stuck hand sanding, start with more coarse grit sandpaper like 100 grit to remove the most excess quickly. Then work your way up to 220 grit sandpaper to get a really nice smooth repair.
After you have repaired your furniture, don’t make these five biggest furniture painting mistakes!
Have you tried this trick? I would love to know how it goes! Comment below! Learn another way how to fix damaged wood furniture before painting here.


How many coats of Bondo do I need for my repair?
When it comes to fixing furniture with Bondo, a question that often comes up is how many coats are needed for a successful repair.
Well, here’s the surprise – thin layers of Bondo don’t harden as well as thick ones do. This means that applying multiple thin coats may not give you the best results.
So, how many coats should you apply? In general, it is recommended to stick with just one coat.
But if you still notice imperfections after it dries, it’s probably a good idea to go for a second coat. Simply spread a thin layer of Bondo over the initial coat, allow it to dry, and then sand it smooth.
If it’s not necessary, you don’t have to apply a bunch of extra Bondo. Not only can this be wasteful and time-consuming, but it can also lead to a sloppy and uneven repair.
Remember that less is often more when it comes to using Bondo for furniture repairs.
Is there anything I should avoid when using Bondo?
When you’re using Bondo, make sure not to apply too much all at once. This could lead to a bulky and unnatural repair that’s tricky to sand down.
Also, it’s best to avoid adding an excessive amount of hardener to the base, as it can cause the Bondo to set too quickly and make shaping more difficult.
Remember to mix in small batches and add more as needed while working since it dries fast.

How To Repair Damaged Furniture
If you want to get the damage fixed before you paint your furniture, you’re in the right place. Learn how to repair damaged furniture here.
Materials
Instructions
- Sand around all of the holes then wipe the dust off.
- Mix up the Bondo and fill it in all the damaged areas of your furniture. Mix up small batches of Bondo, and work fast. It dries quickly!
- Cut/scrape away the excess Bondo once it's set but not hard (about 5-10 minutes).
- Leave the Bondo to dry (usually within an hour or 2 but overnight is good) then sand the Bondo smooth with 100 grit and up to 220 grit sandpaper.
- Fill any small imperfections with wood filler. Or apply another thin coat of Bondo.
- Now, you can paint your repaired furniture!
Recommended Products
As an Amazon Associate and member of other affiliate programs, I earn from qualifying purchases.


More Repairing Furniture Resources
- How to Fix A Chipped Wood Corner
- How to Repair Rattan Furniture
- How To Fix A Missing Chunk Of Wood
- How To Fix Old Dresser Drawers From Falling Out
- How To Repair Cracks In Antique Wood Furniture

Follow us on YouTube to get more tips for painting furniture. Or share your project with us on our Facebook Group and be part of our community. See you there!
Beautiful!
Thank you Karen! <3
Is this a technique you learned yourself? I have a table I need to fix and am also worried it won't stain well. Going to try your technique, thank you so much. Love your chair results
It's a combination of so many techniques learned over the years. Best of luck with your project!
Can you stain Bondo?
Hey Bee! Yes and no. There is more info on how to stain bondo in the post above.
This is amazing! I never would have thought it would be that easy to repair a broken chair or any furniture. Your step by step guide is very helpful! Thank you for sharing.
It was really helpful when you suggested using a utility knife to cut the excess Bondo because that’ll save me a lot of sanding. I got a puppy last year and he has been chewing on everything we own! Now that he’s a little older and knows not to do that, my husband and I have started making the repairs. Our wooden chairs are totally destroyed so I’m going to have to get some help with them.
The utility knife part is the best secret to using Bondo! Sorry about your furniture!
Is anyone going to call out the fact that the “repaired” leg is not the one as the damaged leg? Look at where the damage is in relation to where the bindi starts.
Hey there! You’re right, the finished photo isn’t the same leg! When I was taking photos, I wasn’t planning on sharing on the blog. So when I posted, I didn’t have photos of the same leg. But I can assure you that it worked great and has worked time and time again for me!