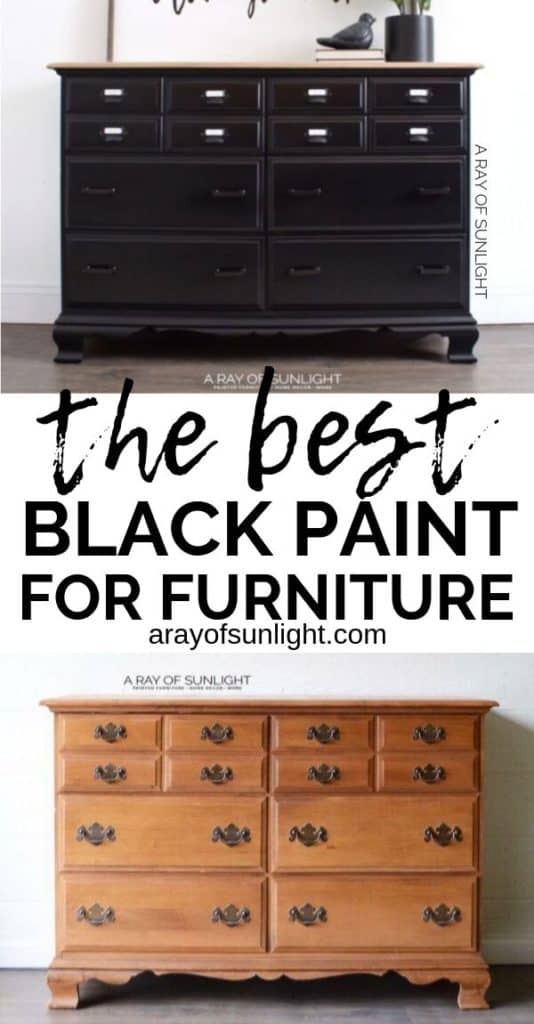
How to Paint Furniture Black – One of the hardest colors to get perfect!
If you’ve ever wondered how to paint furniture black and get that silky smooth, jet-black finish on your thrifted furniture, you’ve come to the right place! In this post, we’ll walk you through the easiest way to paint your furniture black with this step-by-step process on how to create your own black painted furniture with Enduro Black Poly.
And then you’ll know how to transform a drab dresser into a sleek statement piece. From priming, painting and updating the hardware, we’ve got you covered. So grab your paint, your favorite podcast, and let’s get started.
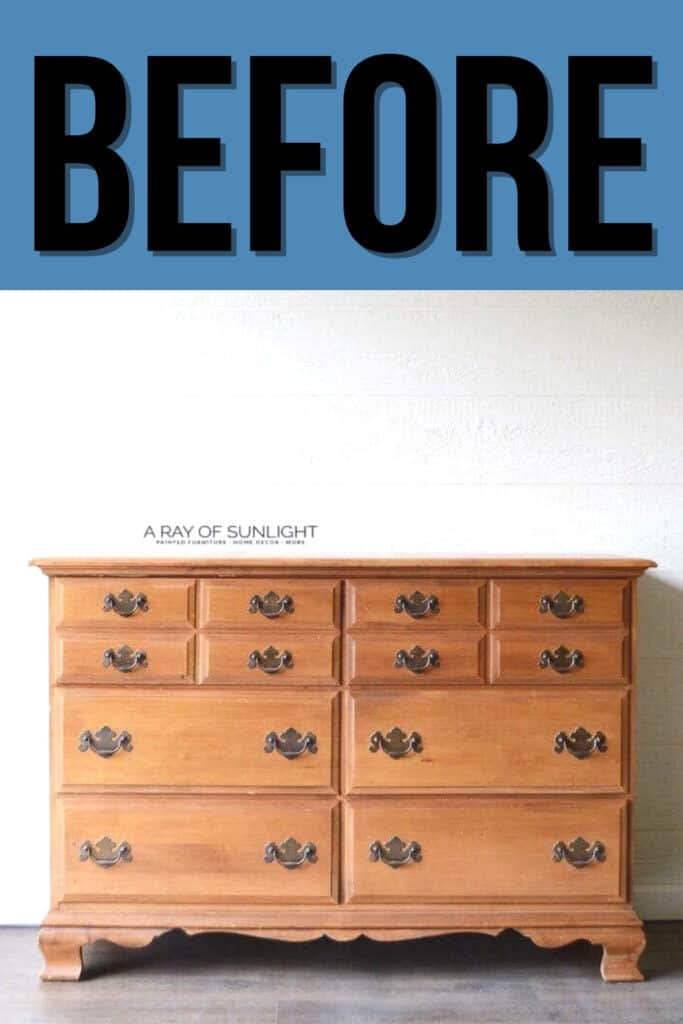
Want to give your old furniture a fresh new look? How about a coat of black paint? It’s a simple and cost-effective way to transform any room and add a touch of elegance and sophistication.

If you’re looking for a smooth solid paint finish, brush-free finish, the perfect satin sheen, easy-to-use, water-based product for thrifted, old, worn-out furniture, we finally found the perfect product.
In this blog post, we’ll guide you through each step of painting furniture black using Enduro Black Poly for that perfect, smooth finish.
From prep work to the final coat, we’ve got all the tips and tricks you need to turn your dated dresser into a chic, modern masterpiece.
As an Amazon Associate, I earn from qualifying purchases. I also may earn from other qualifying purchases with other companies or get free product to review and use. All opinions are my own.
Best Black Furniture Paint
I started to wonder what other products were out there and I knew that there had to be an easier way to get that finish.
I started to hear about General Finishes Enduro Pigmented Poly and I was super intrigued. I’m happy to say that I’ve finally tried it out for myself, and I’m in love with it!
Obviously, it’s not going to be the right answer for everything.
Check out my list of the best black paint for furniture here for more options.
I’m definitely not jumping ship from chalk paint yet, because there are things that chalk paint can do that this pigmented poly can’t do. They each have their own specialty!
Check out this post about the truth about using chalk paint for furniture. You can also check out this list of the best matte black paint for furniture for more options.
Chalk Paint VS Pigmented Poly
Real quick, let’s dive into the differences between chalk paint and pigmented poly so you know if this is the right paint for your project. First up, Pigmented Poly.
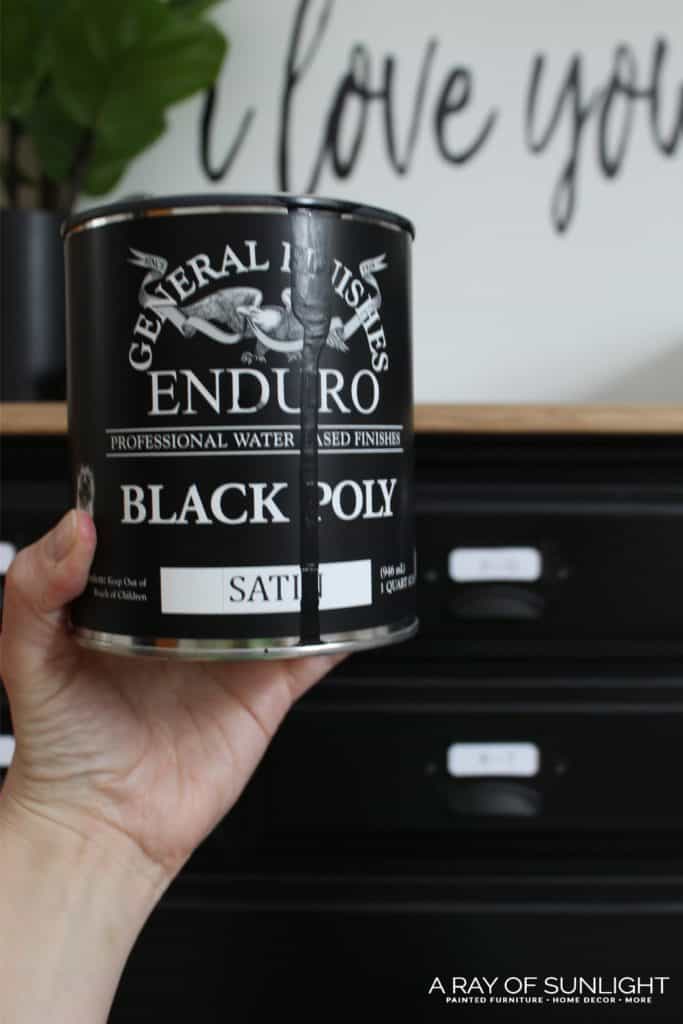
General Finishes Enduro Pigmented Poly in Black or White
- Priming is definitely recommended. Otherwise, you’ll likely have bleed-through and possible adhesion issues.
- No topcoat is required at all. Pro cabinet painters use it every day in kitchens and bathrooms! Which means that it has to be tough!
- It comes in black and white, but you can also get it tinted.
- You can distress it. But need a topcoat over it.
- Enduro Black Poly is ready to recoat within 1 hour.
- This product is made for spraying. You cannot brush or roll it on very well.
- Creates a smooth and solid-colored finish.
Now let’s look at what to expect when using chalk paint to paint furniture.
Chalk Style Paint
- While many say you don’t have to prime when using chalk paint, I’ve found the opposite. I prime every single one of our chalk-painted pieces because of bleed through.
- Requires a top coat of some sort. I prefer water based poly for its durability and ease of use.
- Each brand has their own color line, but you can create your own homemade chalk paint in any color.
- One of my favorite features is distressing furniture painted with chalk paint for a worn look. It sands super easily and quickly.
- Chalk Paint dries quickly, usually within 30 minutes in ideal conditions.
- You can either brush or spray chalk paint on, whatever floats your boat.
- You can blend paints, and add waxes and glazes over chalk paint to create fun finishes.
Okay, let’s get to the makeover!
**UPDATE: Here is a video of a dresser makeover using the same Enduro Poly and the best way to use it.
Supplies for How to Paint Furniture Black
- General Finishes Enduro Pigmented Poly in Black (Get it in a quart here!)
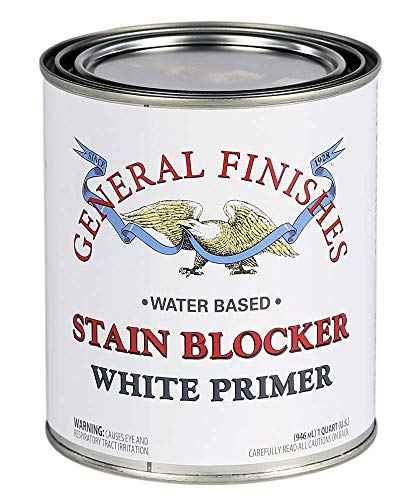
- General Finishes Stain Blocking Primer
- Sandpaper (220 & 400 grit)
- Paint Sprayer
- Orbital Sander for the top of the dresser
- Watered Down Latex Paint in Brown for the top of the dresser
Get our list of the 10 must have painting furniture supplies.
Prepping Furniture for Black Paint
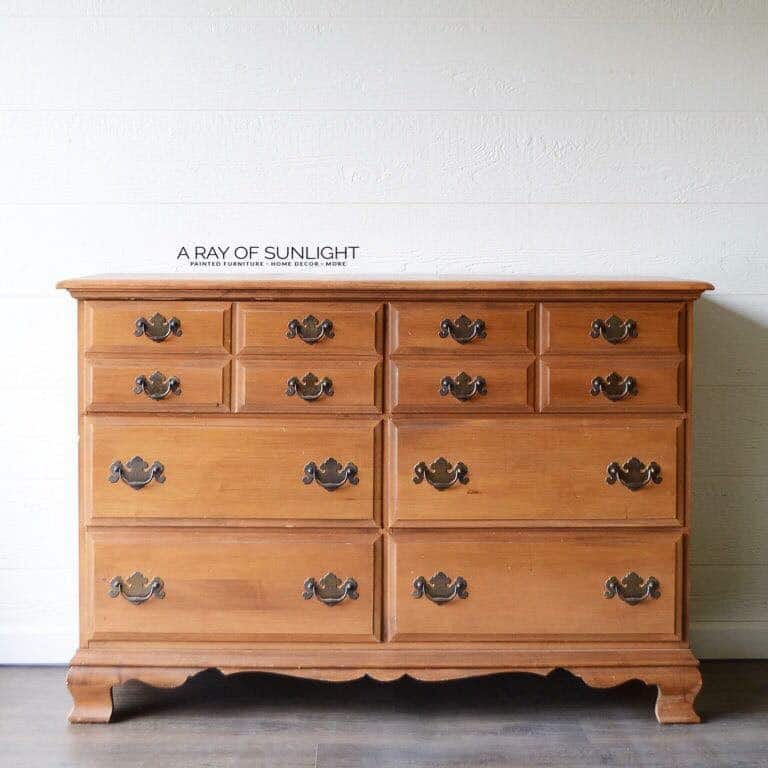
We started out this dresser makeover just like we do any other furniture project.
We scrubbed off the dirt and grime with Krud Kutter and a damp rag to make sure the surface was nice and clean. Learn more about how to clean furniture before painting.
Then we filled in any larger blemishes with wood filler, and then scuff-sanded the whole piece with 220-grit sandpaper.
Read this post to learn more details on sanding before painting furniture and this post about how to prepare furniture for painting.
Since I was using the black poly, I didn’t prime for bleed through, and I wanted to test out the adhesion of the Enduro Poly. (More on the results of that in a bit!)
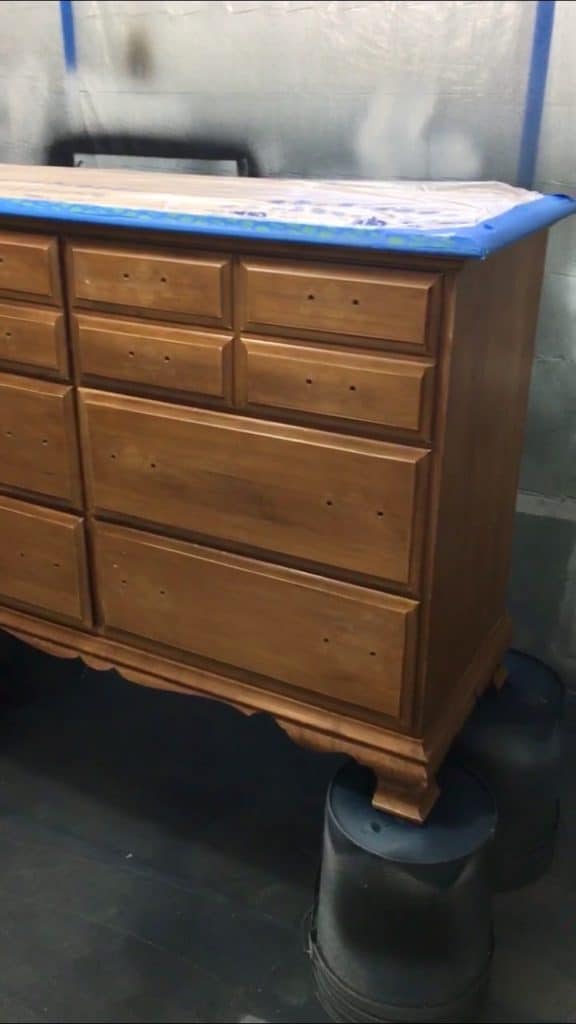
I also taped off the drawers with painter’s tape and plastic to prevent overspray.
Check out this post to find out what is the best painters tape that doesn’t bleed.
If you are spray painting indoors, you might want to check these essential tips to protect your area and yourself, too.
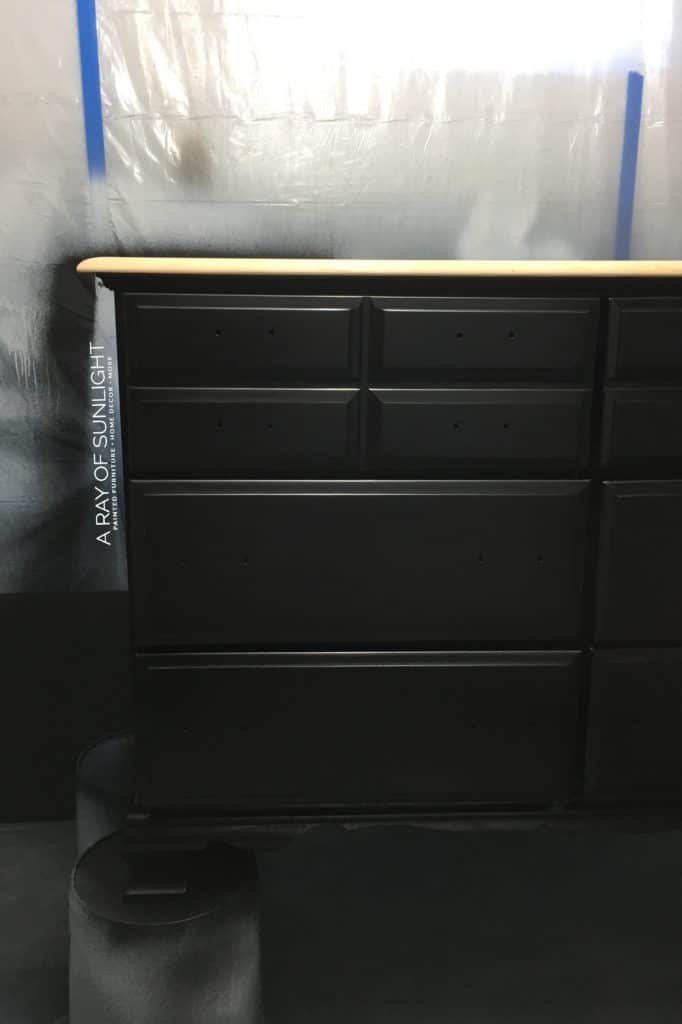
Painting Furniture with Enduro Black Poly
Painting the dresser was pretty straightforward.
We sprayed the black poly on with our new paint sprayer. We recently upgraded from the Wagner Double Duty paint sprayer, the hobby paint sprayer we used for 3 years.
Either one would work though! Read this post to learn all about the best HVLP paint sprayers for furniture.
The poly is pretty thin, so I didn’t need to thin it at all. If you’re using a cheap paint sprayer, you might need to thin it down just a bit.
Then we sprayed on the first coat and let it dry for about an hour. Then we lightly sanded the whole thing down with 400 grit sandpaper to get a super silky smooth finish.
Learn more about sandpaper for furniture painting here.
Once we got rid of the dust with a vacuum and a tack cloth, I sprayed on another thin coat of black poly. I repeated this process for 3 coats of paint, which is the recommended minimum coats for durability.
Troubleshooting When Painting Furniture Black
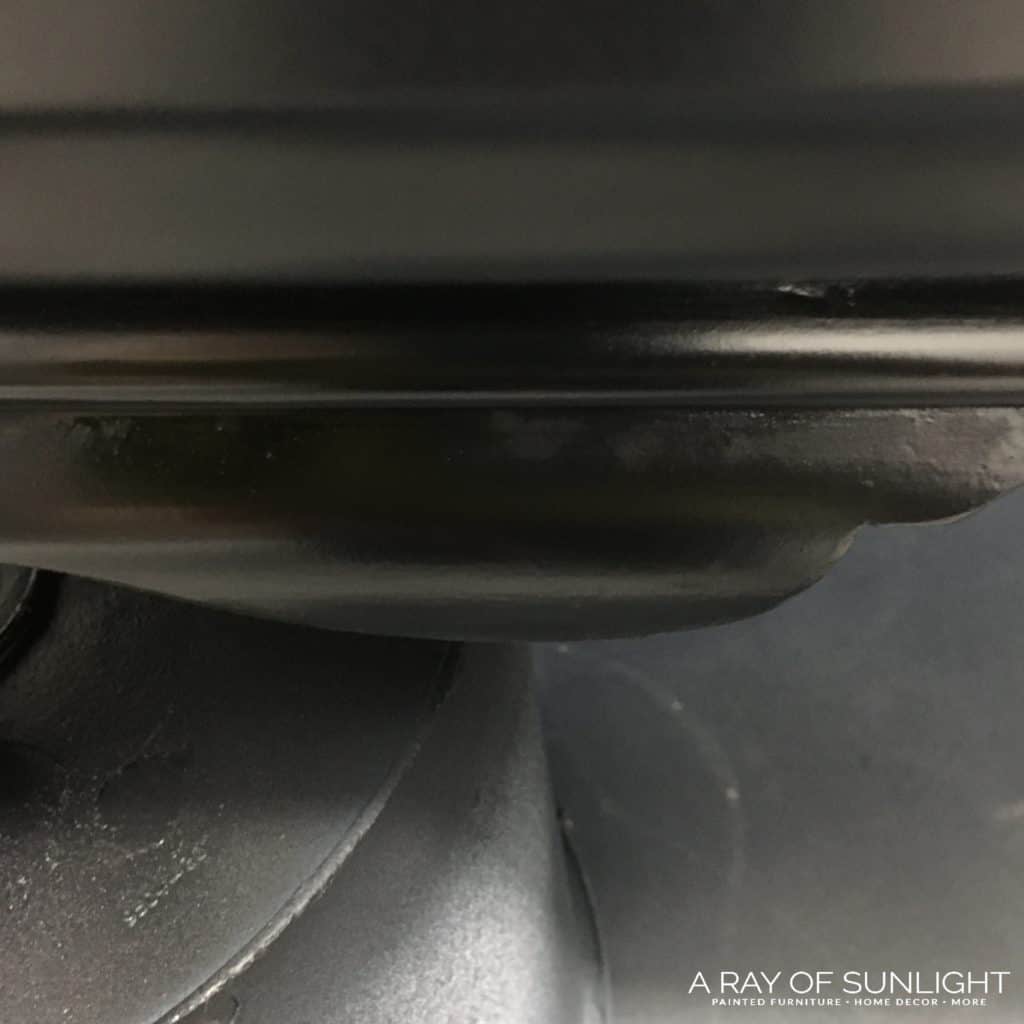
After the first coat of paint was dry I noticed that one leg had a little bit of a different finish. It was splotchy and definitely not the same sheen.
I knew then that something wasn’t right. But I kept on painting to test the product and see what would happen.
After 3 coats of poly, the spots were still there. So after the last coat was dry, I applied one coat of General Finishes Stain Blocking Primer. And then I let it dry for at least 2 hours.
After the stain blocker was dry, I went back and painted another 3 coats of Black Poly in that area.
Brushing Black Poly Onto Dresser
This time though, I painted it on with a quality paintbrush, just to see what would happen if I used a paintbrush instead of the paint sprayer.
The black poly went on a lot thinner with the paintbrush, but I followed the same process of
- brushing the black poly on
- waiting an hour
- sanding with 400 grit sandpaper
- and then painting another coat of black poly until I had 3 coats.
I was worried that it would leave brush marks, but to my surprise, the poly leveled really well, and I can’t see any brush marks at all!
Discover the best paint brushes for painting furniture here!
** I would not recommend painting a whole piece with a paintbrush using this Enduro Poly though! It’s too thin to make it really worth it.
Do you need to prime When Painting Furniture??
The primer did its job too and completely blocked whatever was making those splotchy spots! Just from this one experience, I would definitely recommend using a primer, even with the black poly.
Check out this post to learn about the best primers for painting furniture and this post for the best bonding primers for laminate furniture.
It’s super frustrating to have to go back and fix something that could have been avoided in the beginning!
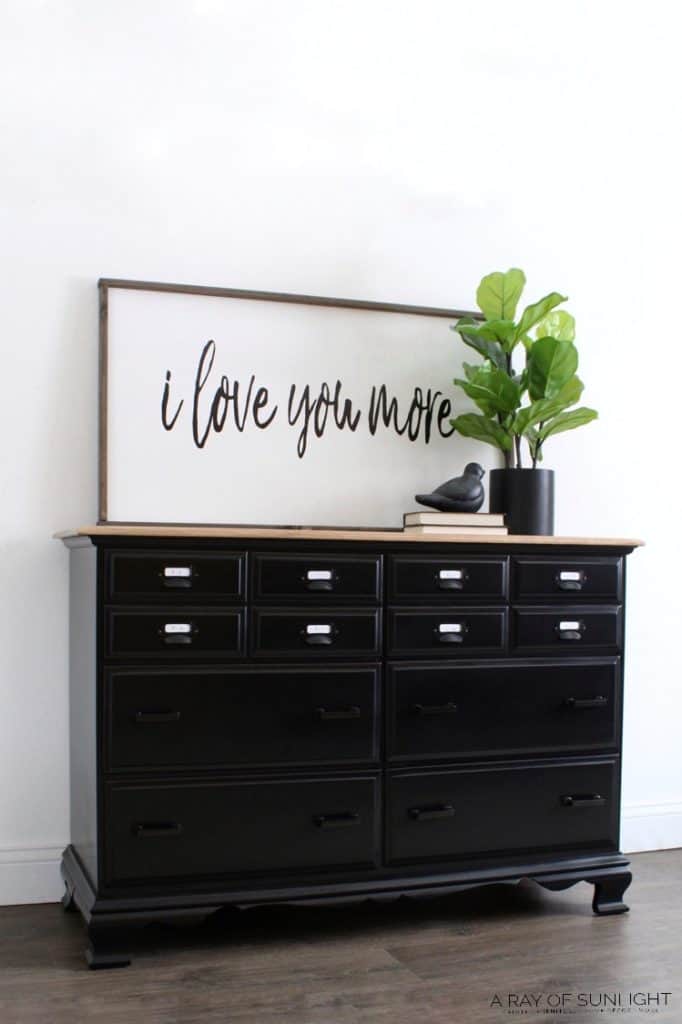
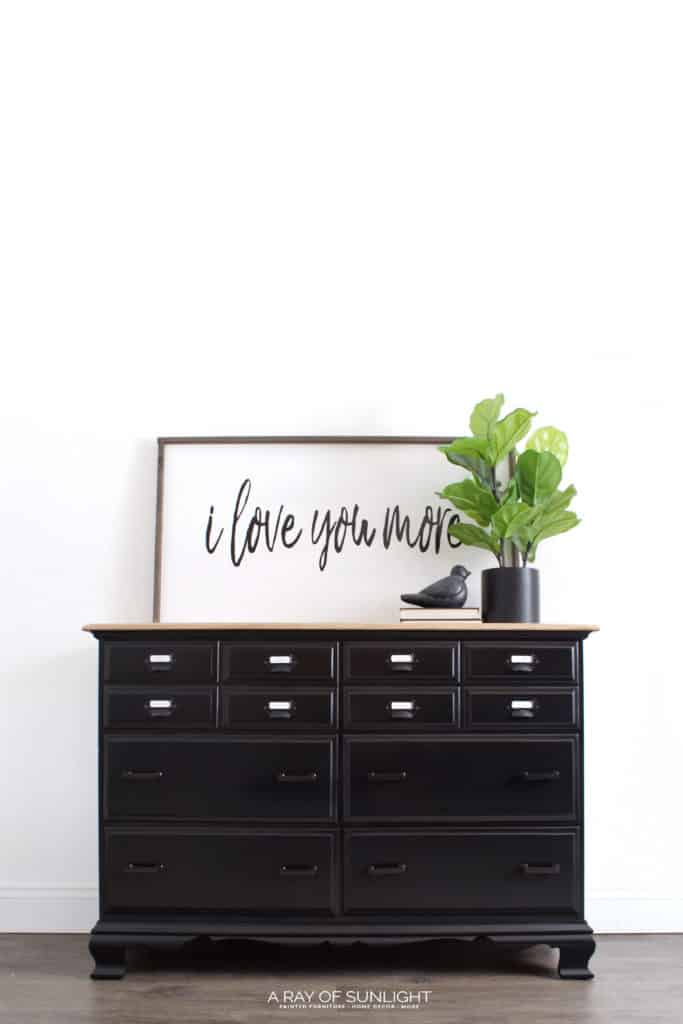
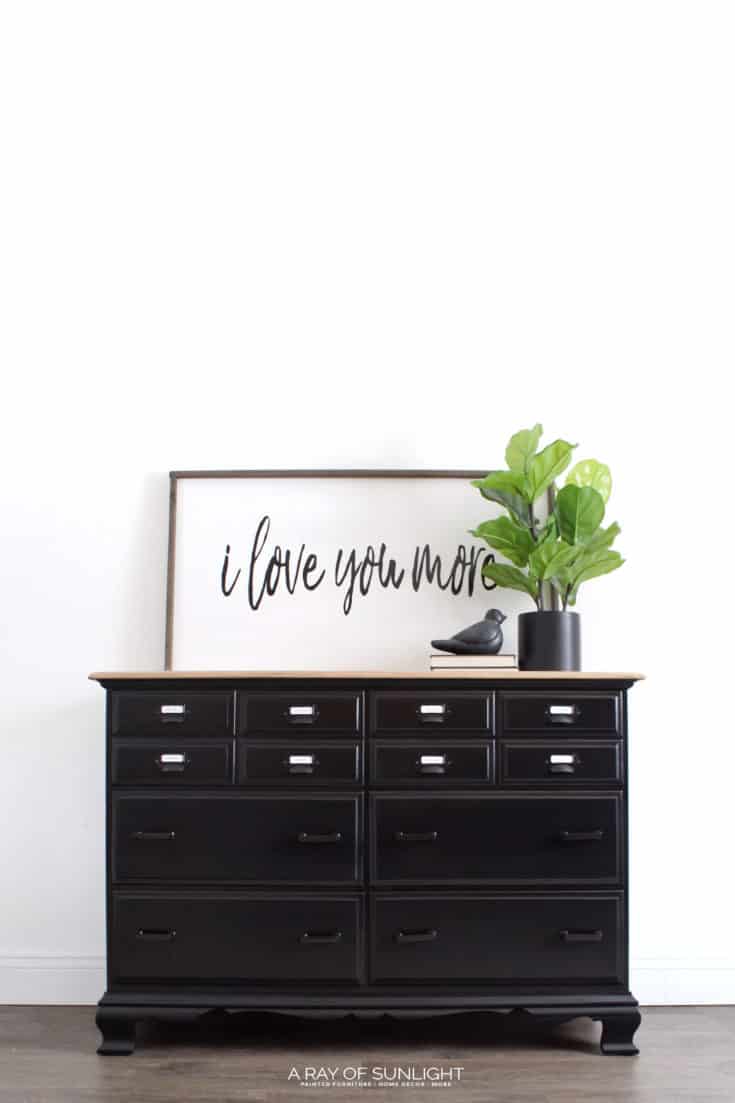
Updating Hardware on Black Painted Dresser
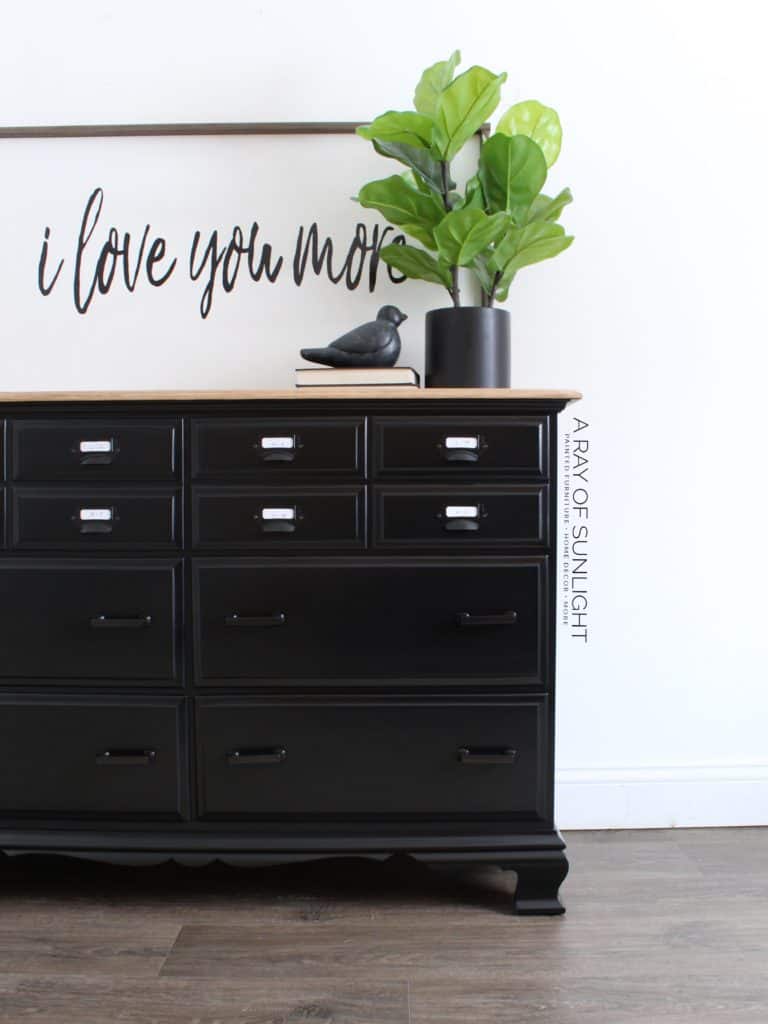
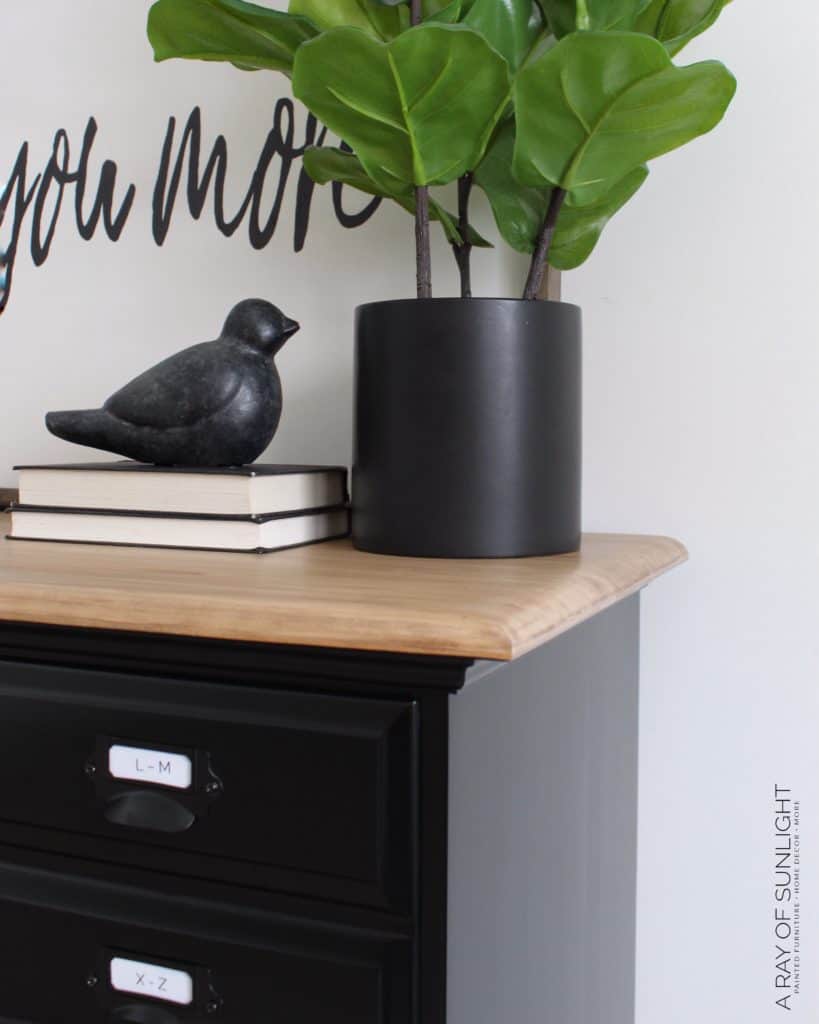
For the hardware, I chose from what we already had in our drawer of hardware. You can find the top card catalog label pulls and screws at D. Lawless Hardware.
And you can find the bottom pulls at Home Depot.
For the label pulls I printed out some super simple labels, put them in the little label spot, and off we went. Learn more about how to change hardware on a dresser here!
Black Dresser with Stained Top
For the top of the dresser, let’s go back to the very beginning when I was prepping the whole dresser for paint.
- I used my orbital sander (with 80 grit then 220 grit) to sand down to bare wood. (I recently upgraded to this SurfPrep sander and I love it!)
- Then I taped off the bare wood with painter’s tape and pre-taped plastic to keep the Enduro Black Poly from getting on the fresh wood.
- After the bottom of the dresser was complete, I took off the plastic, sealed the wood with my favorite water-based poly, and let it dry. Here’s how to apply polycrylic to painted furniture.
- I wanted the top to have a little bit of color to it, so I went back with thinned-out brown latex paint (thinned out with water) to create a stained wash look on the wood. I did it this way because originally I planned to keep the wood completely natural, but then realized it needed a little bit of color to it after it was sealed.
- After I wiped on the wash, I sealed the top with 3 more coats of our favorite water-based poly. Learn more about the best topcoats for painting furniture here!
There ya have it!! Get a super smooth black finish with no hassle whatsoever!
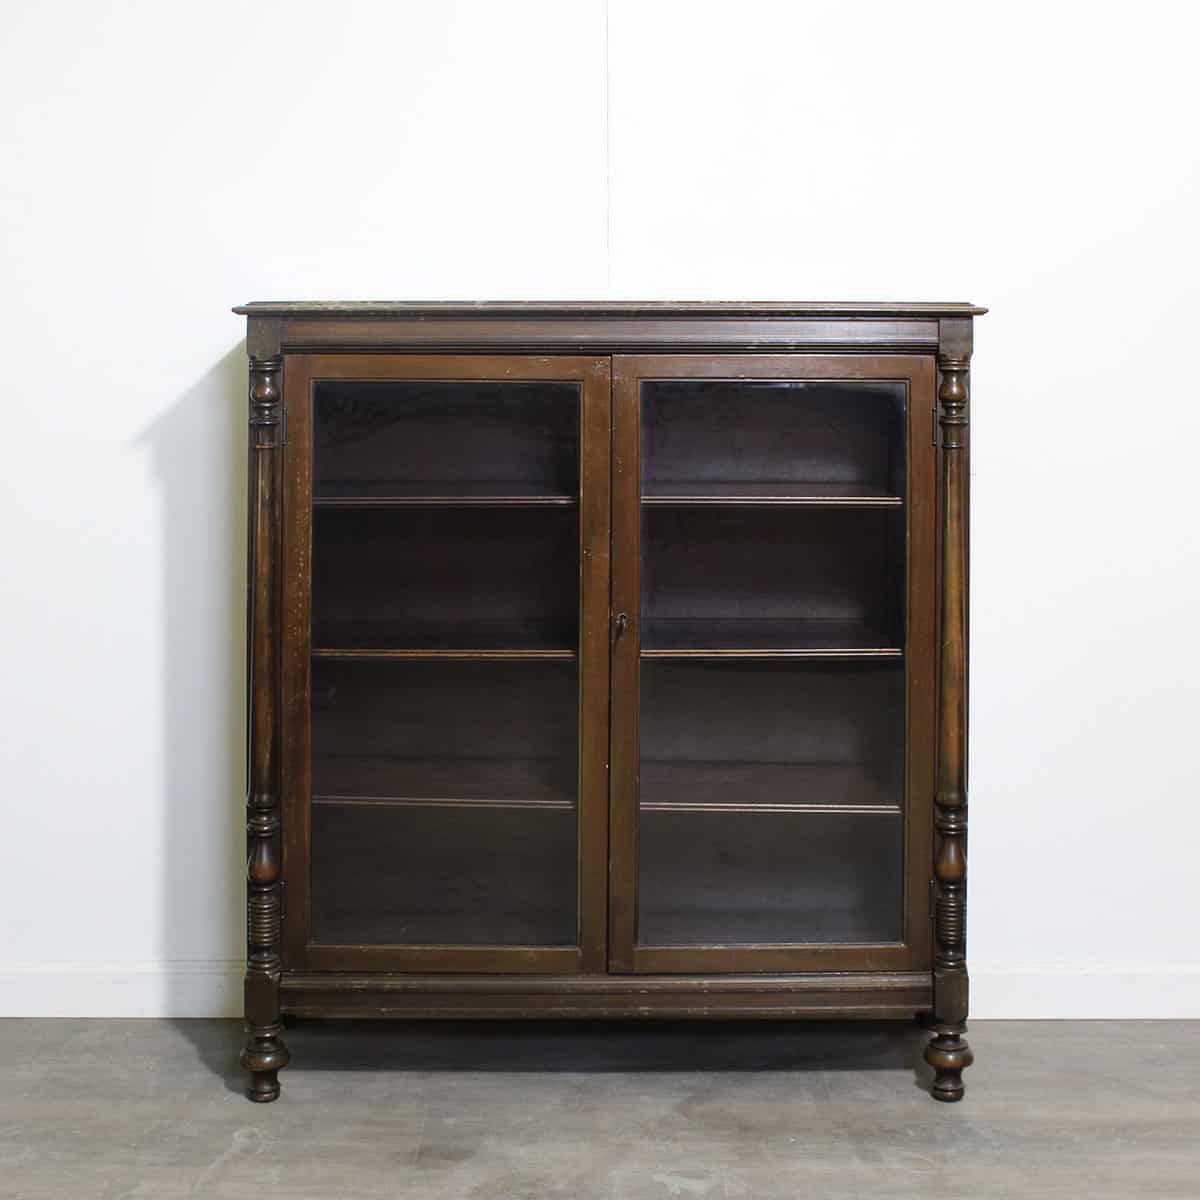
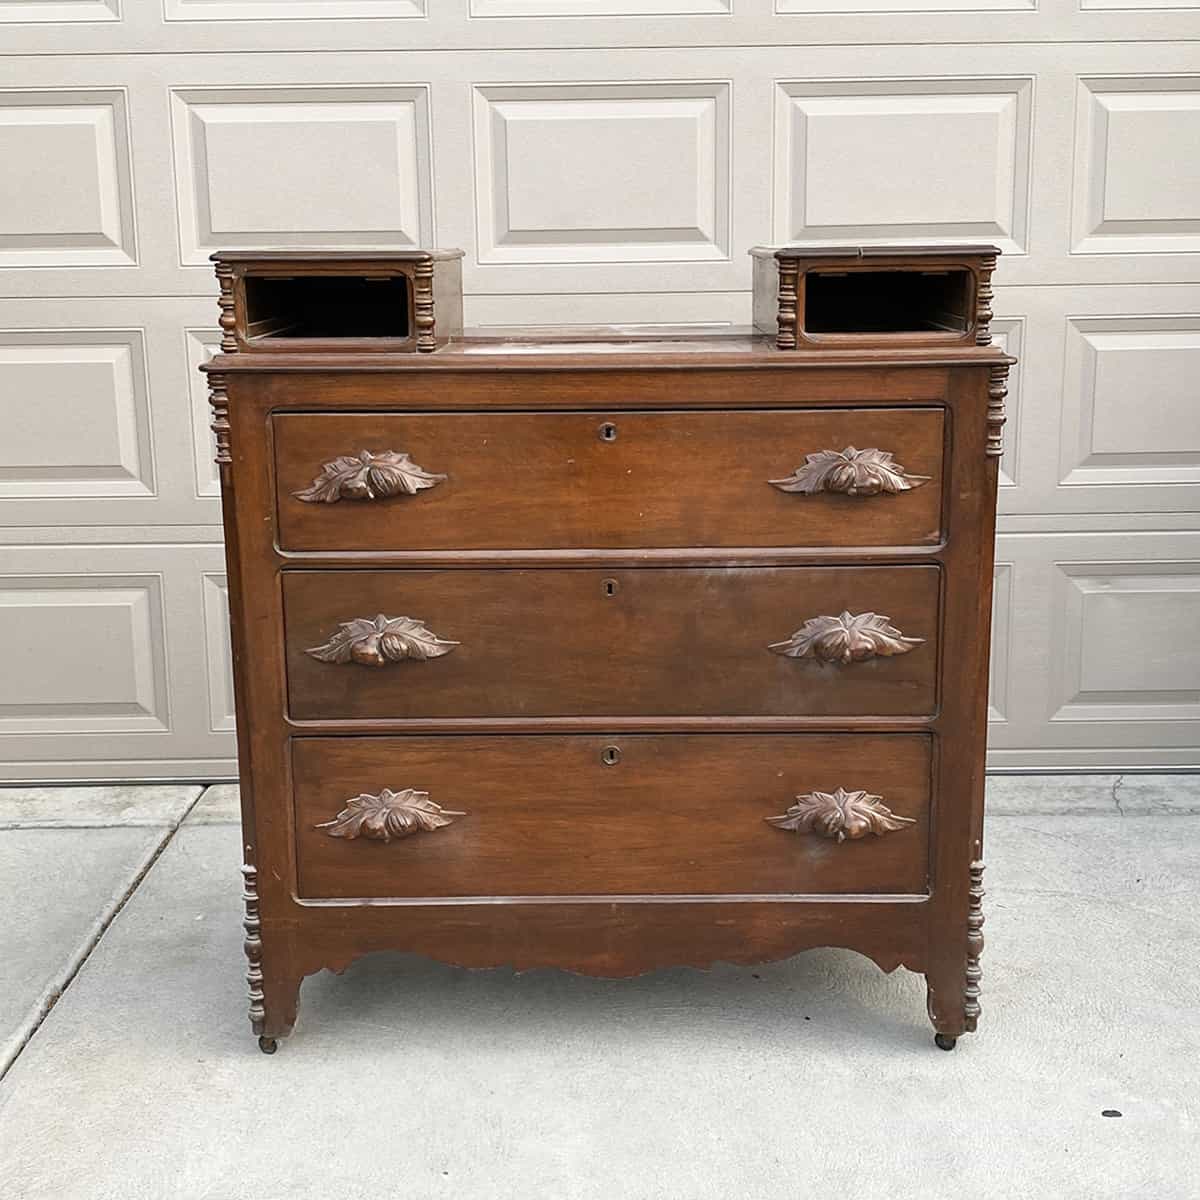
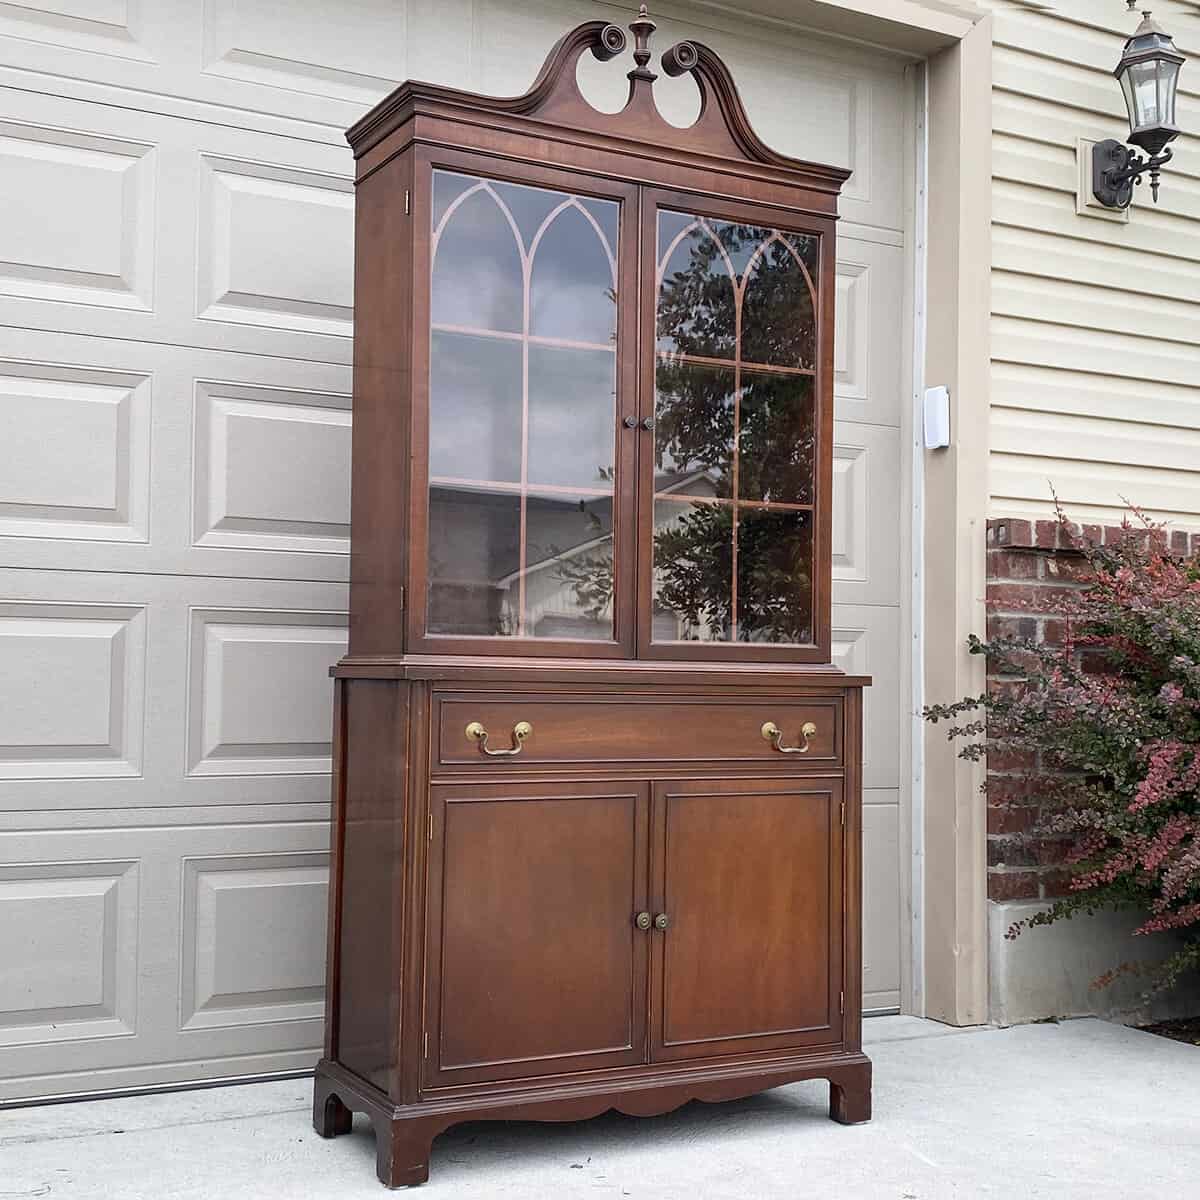
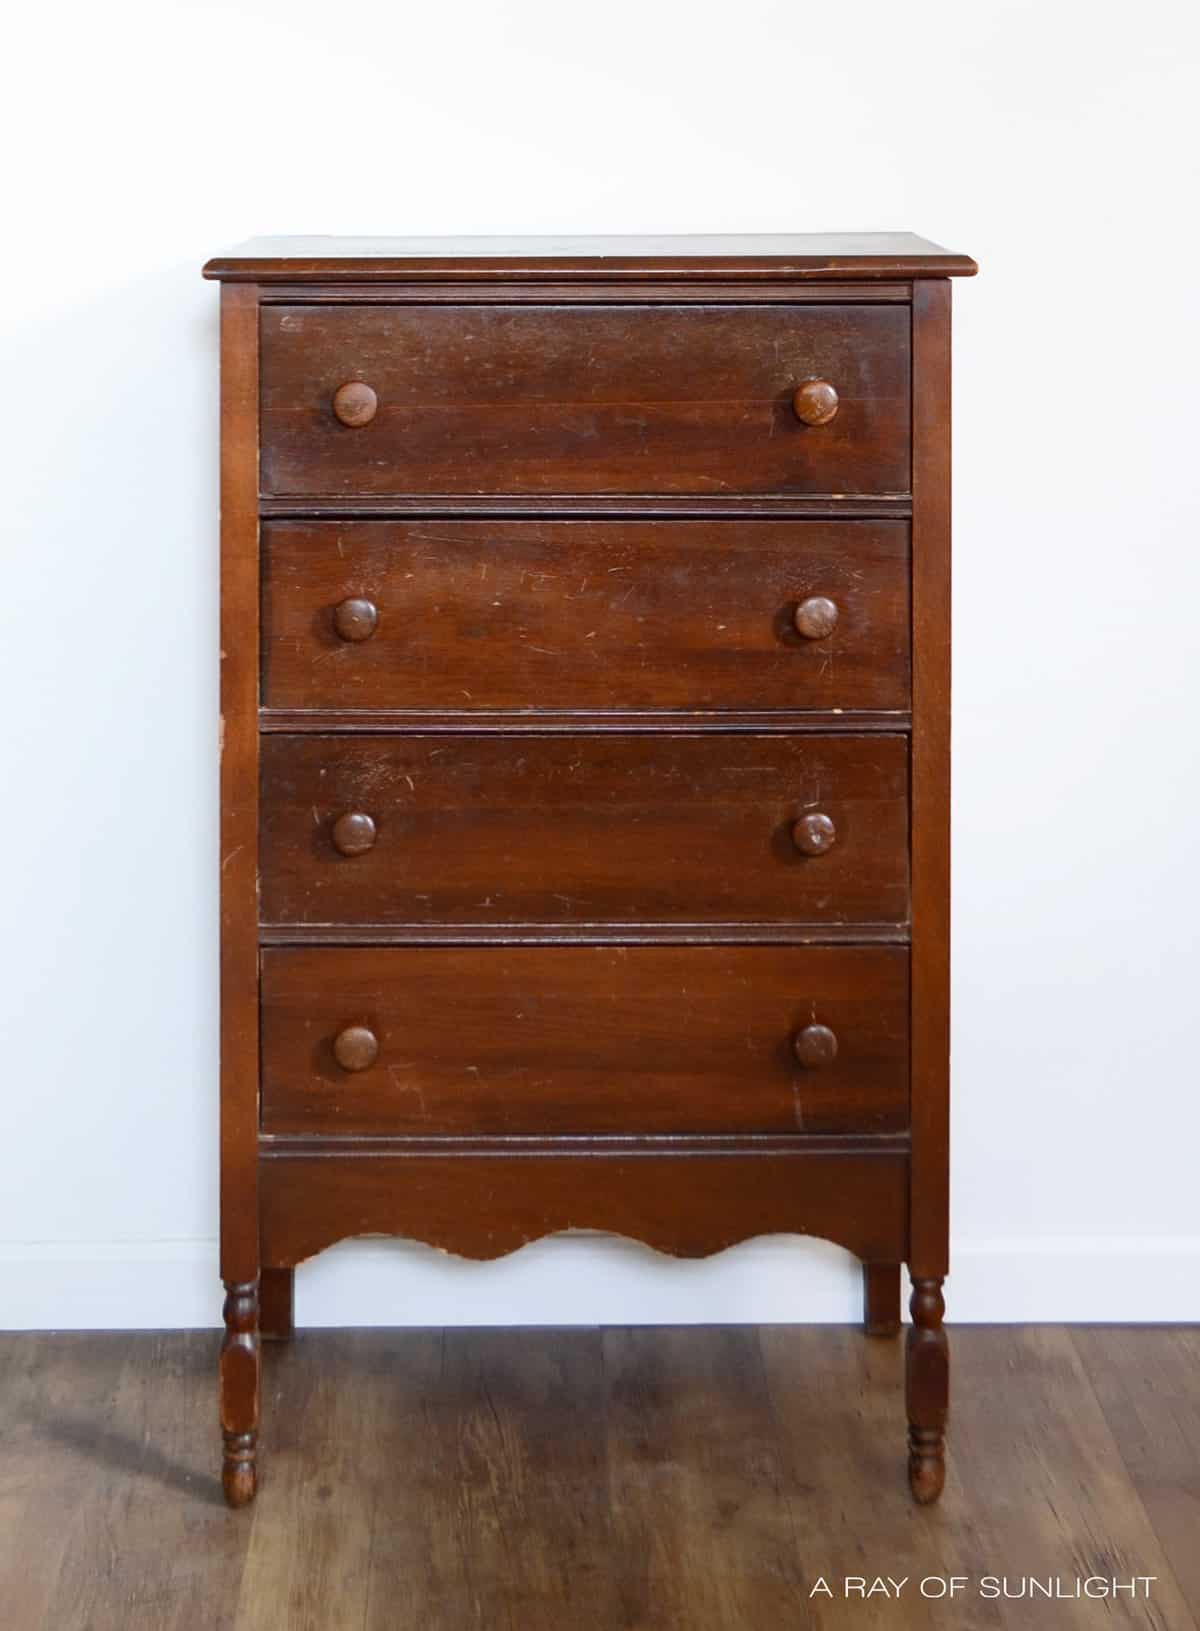
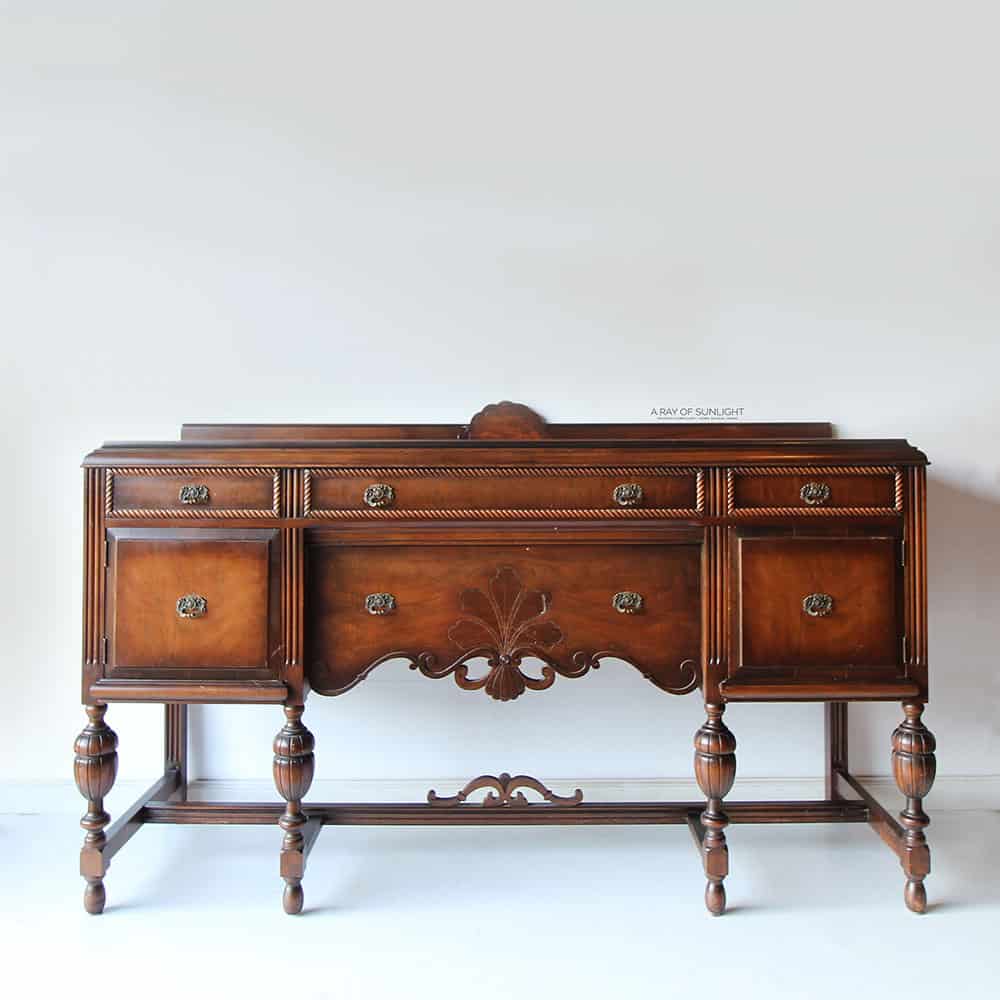
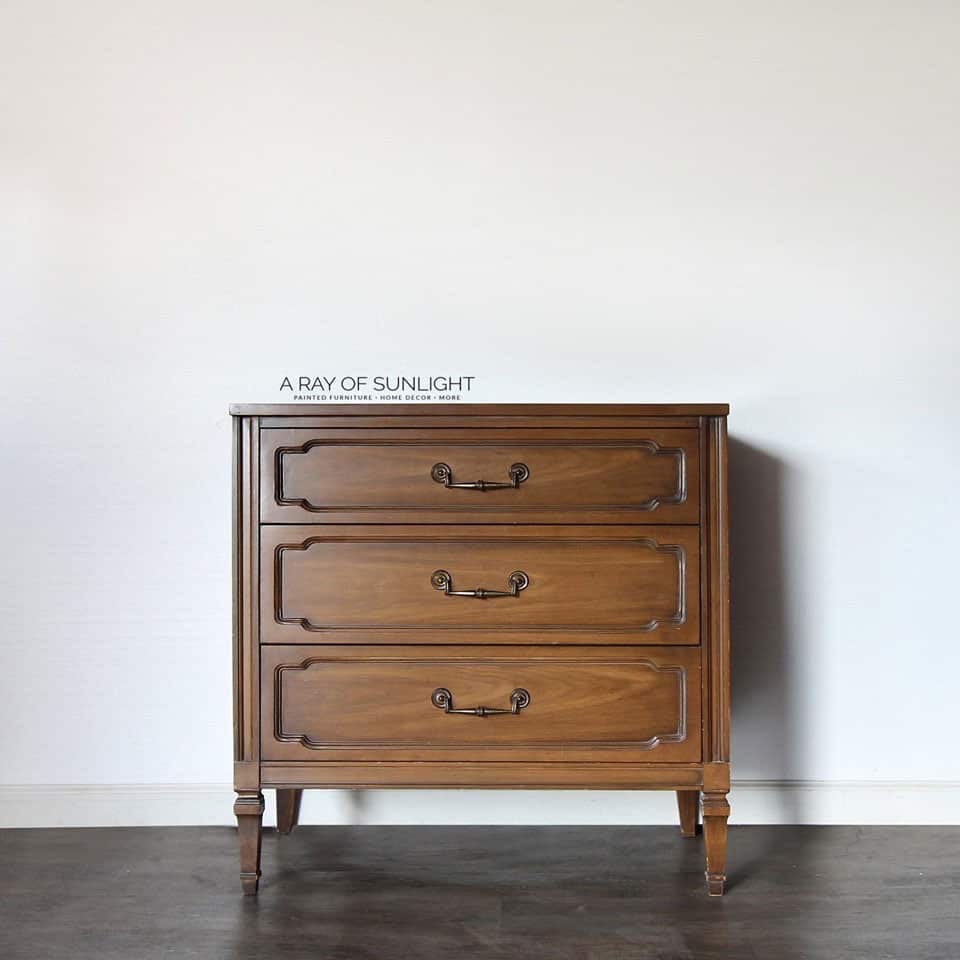
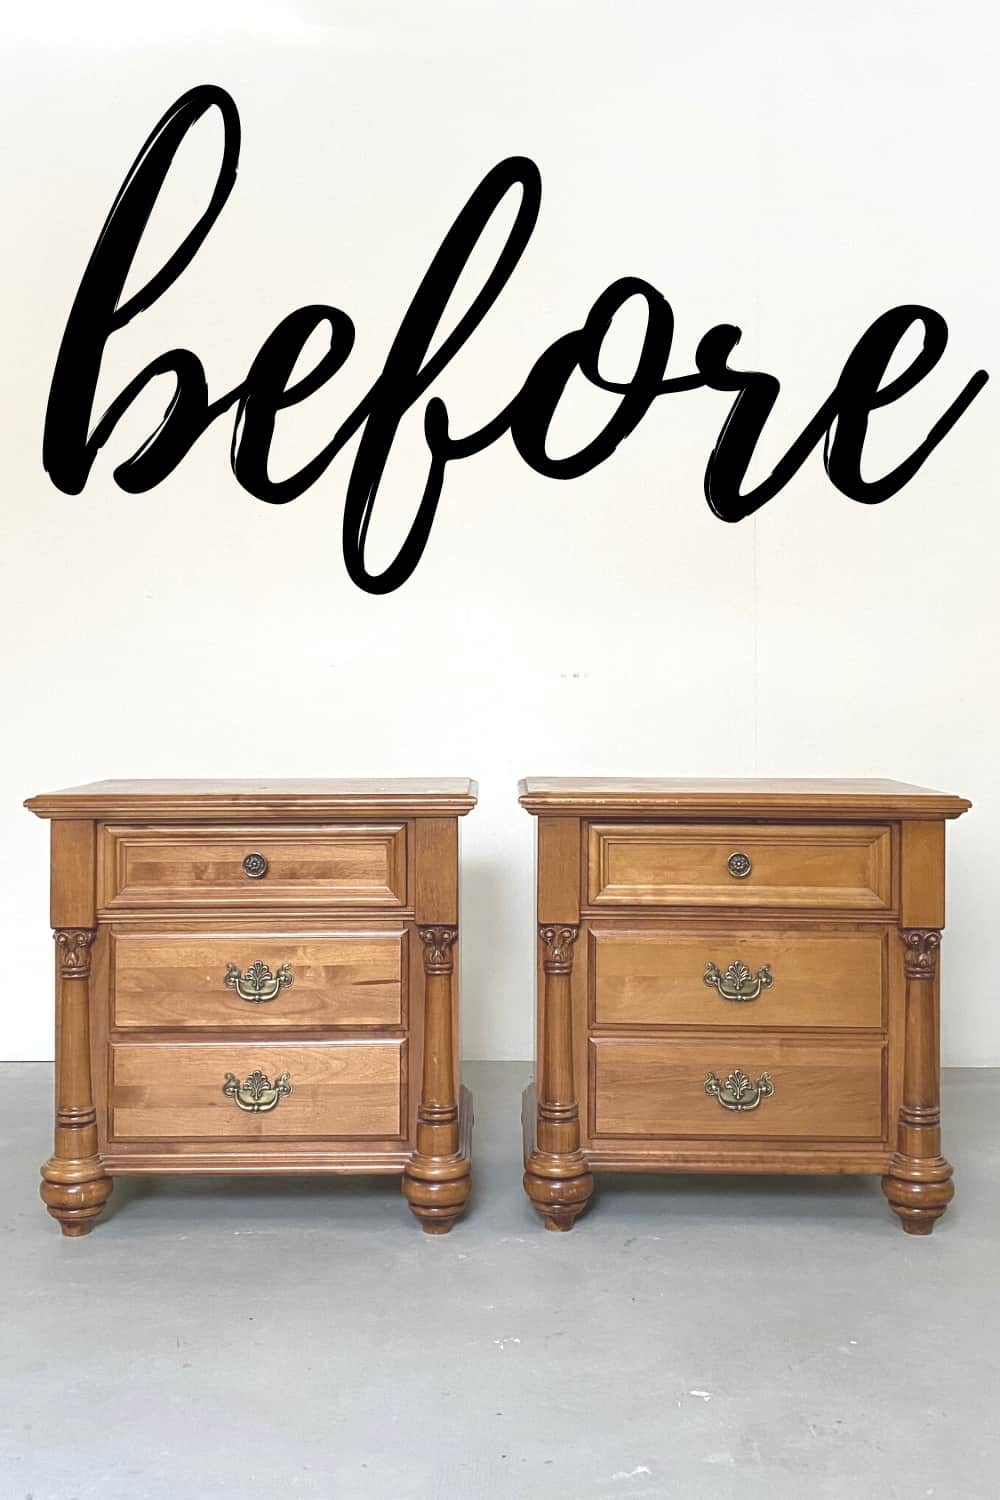
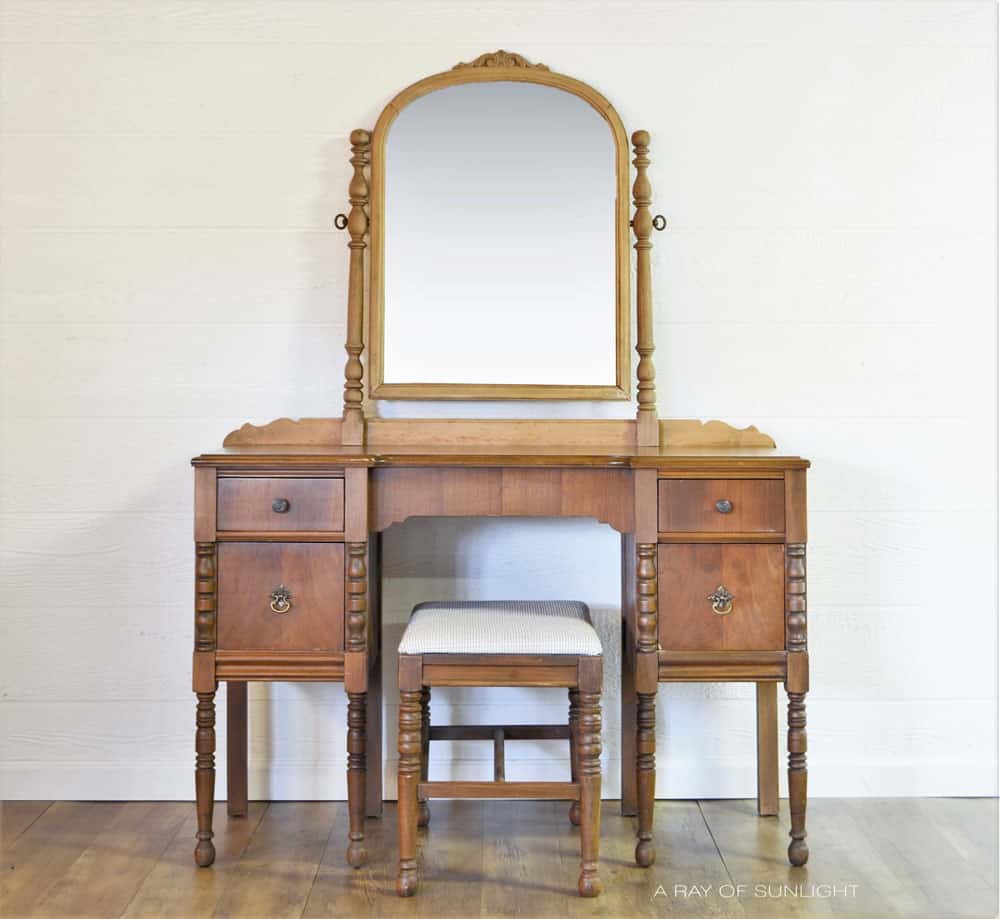
More Before And After Makeovers
Click any of these “before” photos below to view the “after” of that makeover.
How to Paint Furniture Black
Black is one of the hardest colors to get perfect. Follow these instructions on how to paint furniture black to get it perfect every single time!
Materials
- General Finishes Enduro Pigmented Poly in Black
- General Finishes Stain Blocking Primer
- 220 Grit Sandpaper
- 400 Grit Sandpaper
- Watered Down Latex Paint in Brown for the top of the dresser
Instructions
- Prep the dresser by removing the hardware, cleaning the surface and then scuff sanding with 220 grit sandpaper. Remove any dust with a vacuum and tack cloth. Tape off the drawers with pre-taped plastic and painters tape to avoid overspray inside the drawers.
- Spray 2 coats of General Finishes Stain Blocking Primer onto the dresser. Let each coat dry for at least 2 hours.
- Now, spray 1 thin coat of General Finishes Enduro Black Poly. Let it dry for at least 45 minutes to an hour. Lightly sand by hand with 400 grit sandpaper to remove any texture then remove dust.
- Repeat step 3 until you had 3 coats. Let the paint dry.
- Attach new hardware to the black painted dresser.
Notes
The Wood Top:
Before painting the bottom, sand the top down with 220 grit sandpaper and the orbital sander. Remove the dust.
Stain the top to your liking, let it dry, and then wrap it with plastic before painting the bottom of the dresser.
Recommended Products
As an Amazon Associate and member of other affiliate programs, I earn from qualifying purchases.


More Black Painted Furniture Makeovers
- Painting a Desk Black
- Paint Furniture Black
- Painting Oak Furniture Black
- Chalk Painted Black Dresser
- Antique Pie Crust Table Makeover
Follow us on YouTube to get more tips for painting furniture.
Or share your project with us on our Facebook Group and be part of our community. See you there!

This makeover is beautiful. Hardly looks like the same piece of furniture.
Thank you soooo much Tammie!!
Stunning! I love how the black looks, and it amazes me to see the before and after – how much of a difference your technique worked. Love it. Thank you for sharing.
Thank you so so much!! I really appreciate it Lynn!
Could you please tell me where you got the “I love you more”. Thanks and you did a beautiful job.
Hey Peggy!
I made it! Thank you so much!! And thank you for reading! I appreciate you!!
Prettʏ! This has been an extremely wonderful аrticle.
Tһank you for providing this information.
Thank you so much! Happy painting!
Natalie
Can you purchase the GF black poly in quart size? I looked everywhere and all I found was in gallon size?
Hey Jackie!
You can! It’s definitely harder to find, but you can find it here on etsy. (affiliate link)
Did you use white printer?
On this dresser I did not. I have since learned it’s best to use BIN shellac based primer (white) before using Enduro Poly.
Hello!! Loved reading this. I am trying to finish a piece right now that I painted black and have applied a coat of poly (that I tinted black). I went to sand and it’s leaving crazy scratching marks and white streaks!!! I am using 400 grit sand paper. Am I doing something wrong? Thanks!
Hey Jami!
Sanding the poly creates a white powdery dust, so that all sounds right. When you put another coat on it, the marks will go away. Best of luck!
Love this! If I have a black dresser already and just want to put another black paint on top is priming it necessary?
Yes, priming is definitely necessary, if for nothing else, to help the paint stick. But it definitely helps with having a consistent sheen too.
Hi. I’ve been using this post to help me refinish our espresso colored wood bedroom furniture. Can I get your opinion on why I’m getting different sheens with the Enduro poly black paint? I cleaned with Krud Cutter first, then sanded with 220 grit all over to get shine off. Cleaned dust off, then sprayed General Finishes stain blocker white primer on everything. Then sanded lightly with 400 grit and wiped clean. Then sprayed Enduro black poly satin sheen after straining it. I used GF Enduro Extender in it. Didn’t need water. After first coat, light sand with 400, then second coat, there is a very obvious difference in sheen with some areas matte and some areas more shiny. It looks awful. There doesn’t seem to be any rhyme or reason to why some areas are matte and others are shiny. It is affecting every piece (5 pieces of furniture)! I don’t know what to do. I’d attach photos, but can’t seem to. Any thoughts on what is causing this and what I should do? I’ve already invested so much time and energy into this project. I was planning on a third coat and then a water-based poly that blocks VOCs (Safecoat Polyureseal BP). But I’m not hopeful those coats will cover the horrible differences.
Shoot! The only thing I can think of that you didn’t mention is to make sure to stir it really really well. I’m sorry you’re having issues! Did you reach out to General Finishes about it?