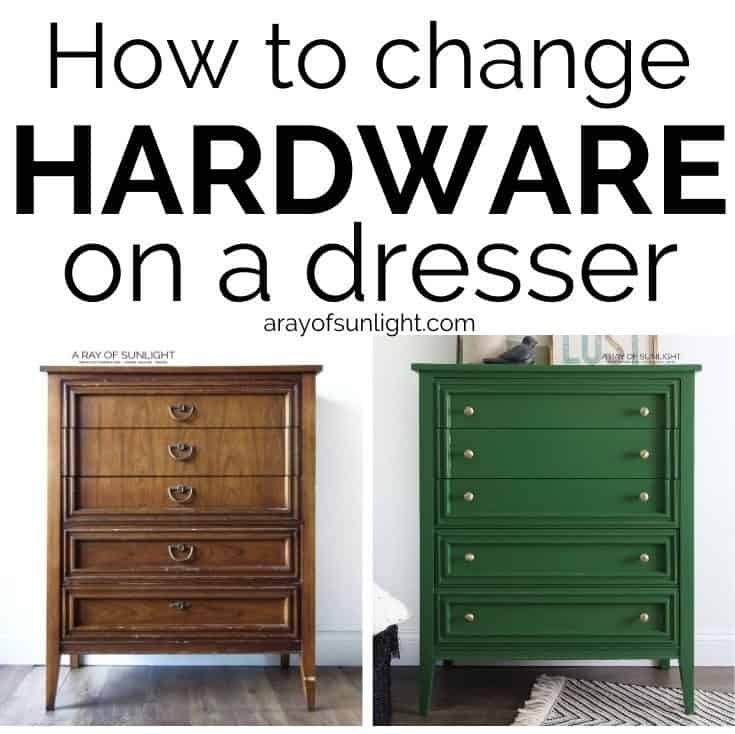
How to Change Hardware on a Dresser
Changing hardware on a dresser is the easiest way to update the overall look. So let’s dive into how to change hardware on a dresser!
Get more of my favorite tips for repairing old furniture here!

There are two main ways for changing the hardware on a dresser. You can update the old dresser hardware with new knobs.

OR. You can paint the old dresser hardware. Click here to skip to the painting dresser hardware part of the post.
Supplies Used to Change Hardware on a Dresser
As an Amazon Associate, I earn from qualifying purchases. I also may earn from other qualifying purchases with other companies or get free product to review and use. All opinions are my own.
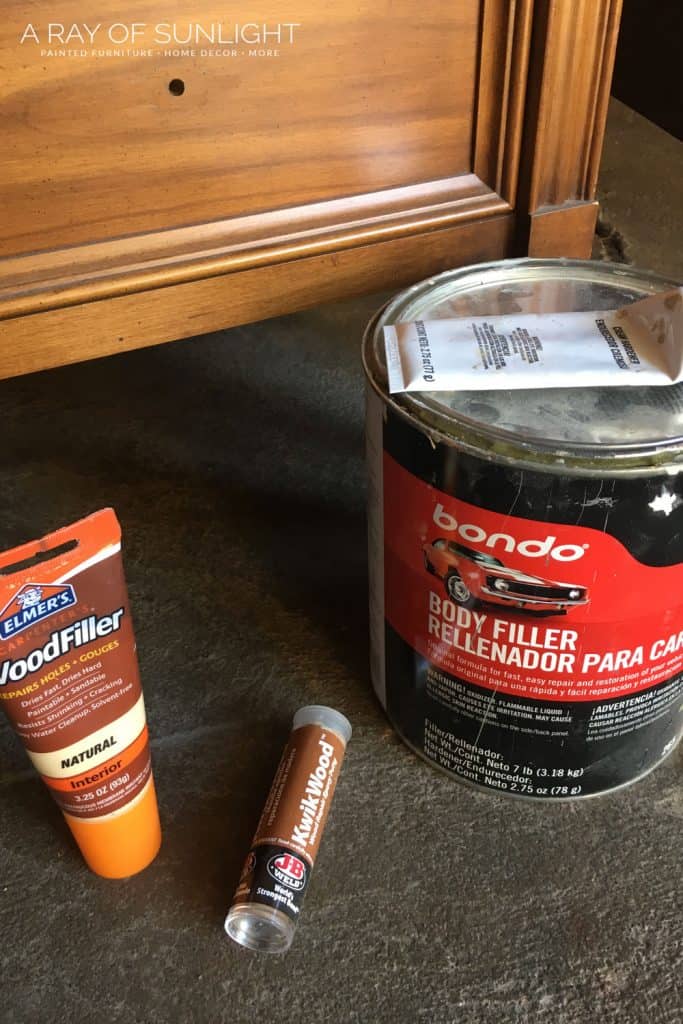
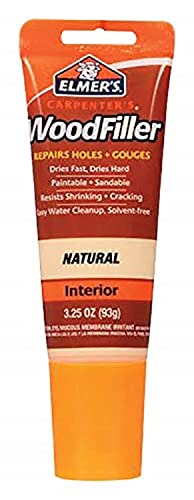
- Wood Filler
- Bondo
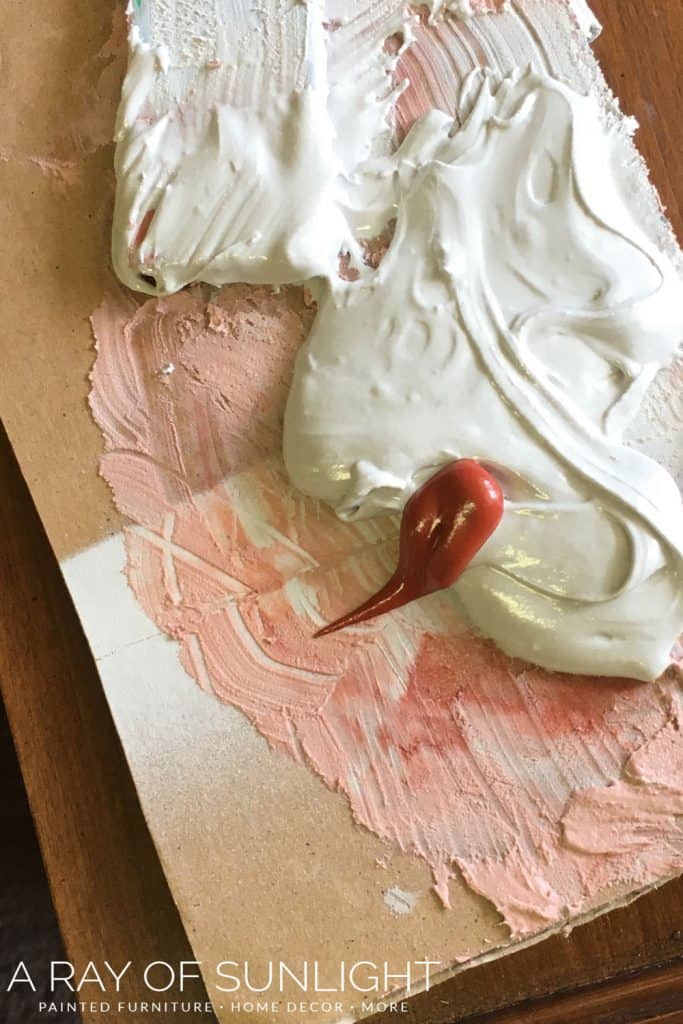
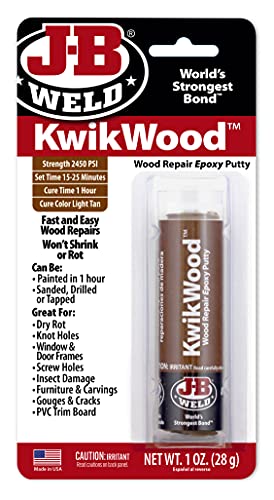
- Wood Epoxy (KwikWood)
- Painters Tape
- Spreader
- Sandpaper
- Shellac
- KREG Cabinet Hardware Jig
- Krud Kutter
- Paint
- Primer
- Topcoat
How to Change Hardware on a Dresser
This method is my very favorite way to update a dresser. This is basically updating the dresser with new knobs, and changing the entire look of the dresser.
This same method applies if you are wanting to change the size of the drawer pull or if you want to change the drawer pull for a knob.
Hardware with two holes is measured by the center of one hole to the center of the other hole.
A lot of old furniture has hardware with odd or large sizes. And those sizes are usually not available in new manufactured hardware. Or they don’t offer the style you want in that size.
So it’s very common to fill in the old holes for the old hardware and make new holes to accommodate the new hardware.
What filler is best to fill hardware holes?
There are 3 different products you can use to fill in old hardware holes.
- Wood Filler
- Bondo
- Wood Epoxy (KwikWood)
See how these fillers compare to each other in this post about filling holes when replacing cabinet or furniture hardware.
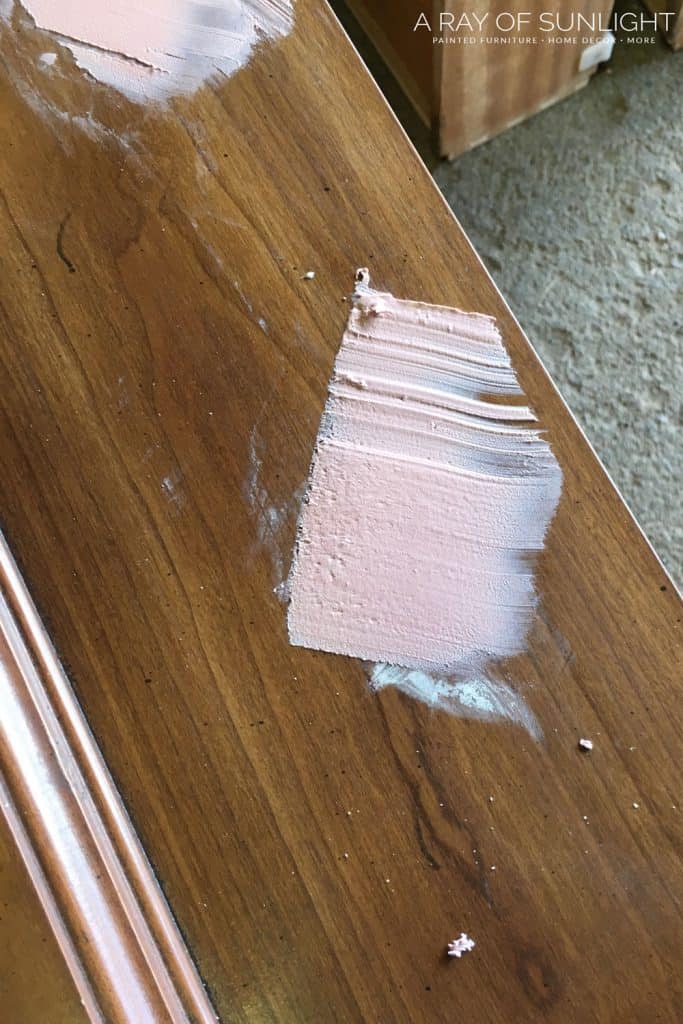
Wood Filler
This seems to be the most common way to fill in old drawer holes. But it’s my least favorite.
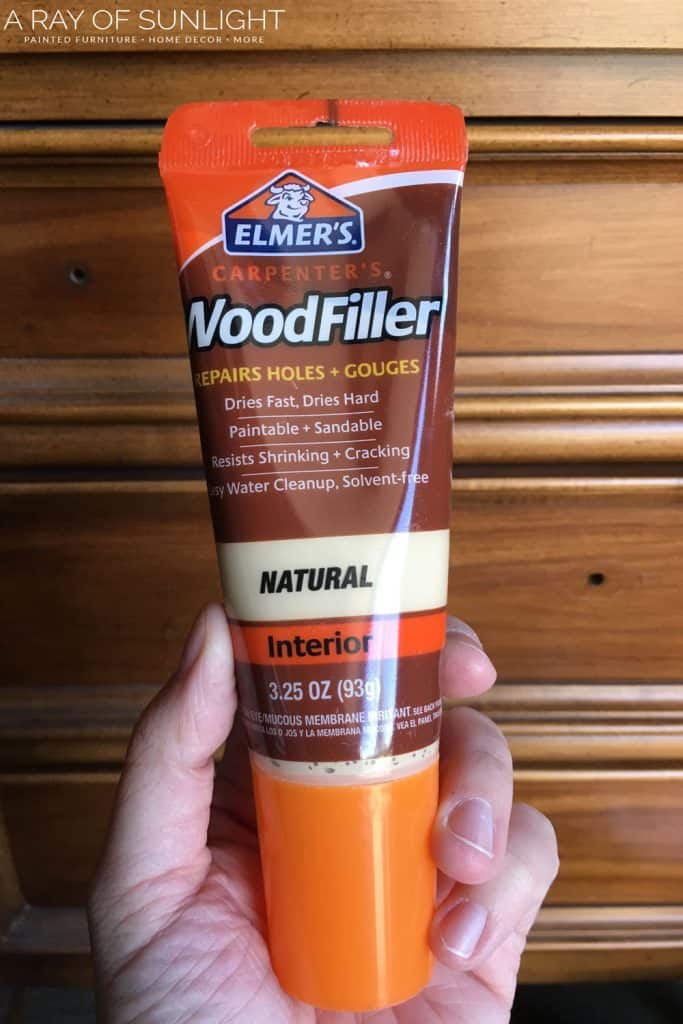
Wood filler shrinks a lot while drying (even the kinds that say they don’t shrink), and it takes a long time for that much of it to dry.
You can definitely use wood filler to fill in old hardware holes, but you will need to let the wood filler dry, sand it down, and repeat that process about 3-4 times before it’s totally flush with the wood.
We’re talking about an all-day process here.
Wood filler is great if the old knobs or hardware left scratches around the holes though! Just spread the wood filler into and over the scratches, let it dry, and then sand it down smooth.
You will want to repeat that one more time to make sure the scratches are really hidden.
Bondo
Bondo was originally made for autobody repairs. But it works really well for furniture repairs too!
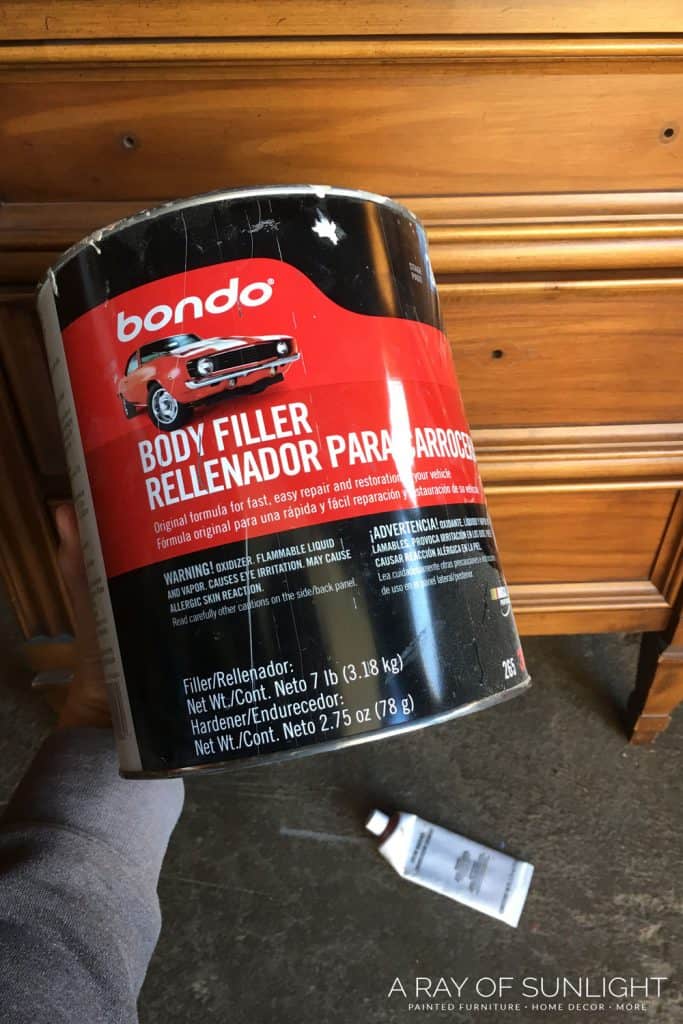
(I personally prefer the autobody kind over the all-purpose kind, but the all-purpose kind is cheaper and is usually in stock.)
It works really well to fill old hardware holes too though! Bondo dries fast – within 20-30 minutes of mixing the hardener into it. It also dries really hard! And it doesn’t shrink as wood filler does.
The major downside though is the strong smell it has, and it is flammable. So, if you’re working indoors, I wouldn’t recommend Bondo.
How to Use Bondo
Bondo is made of two parts. Mix the two together in increments according to the instructions on the can.
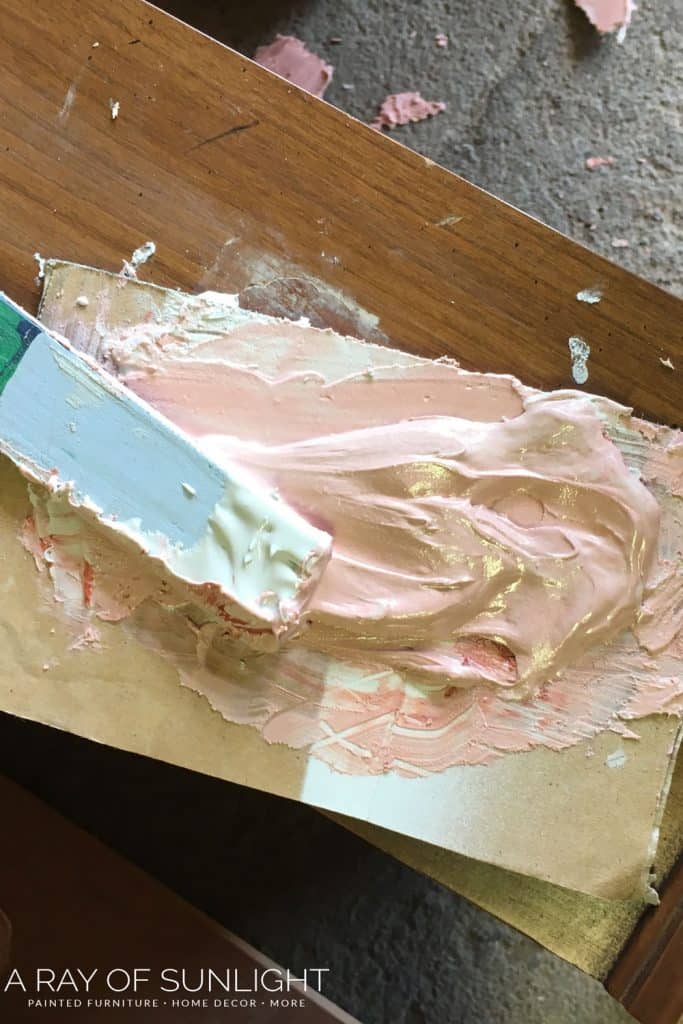
And then spread the Bondo over the holes. You need to work fast and in small batches because this stuff hardens within a couple of minutes, making it impossible to spread anymore.
Once it is dry, you can sand the excess down and put one more layer on top. After you sand down the second layer, it should be perfectly even with the wood.
One other thing to note, Bondo dries very hard, which makes it more difficult to sand. I like to sand it down with 100 grit sandpaper and then move up to 220 grit.
You also don’t want to spread too much extra on, or else you will have a lot of excess to sand off.
Read more about how to use Bondo to repair damaged furniture and get more tips and tricks on how to use Bondo. You can also use Bondo to repair missing or broken trim on furniture!
Wood Epoxy
Out of the three, wood epoxy (KwikWood) is my favorite way to fill in old hardware holes.
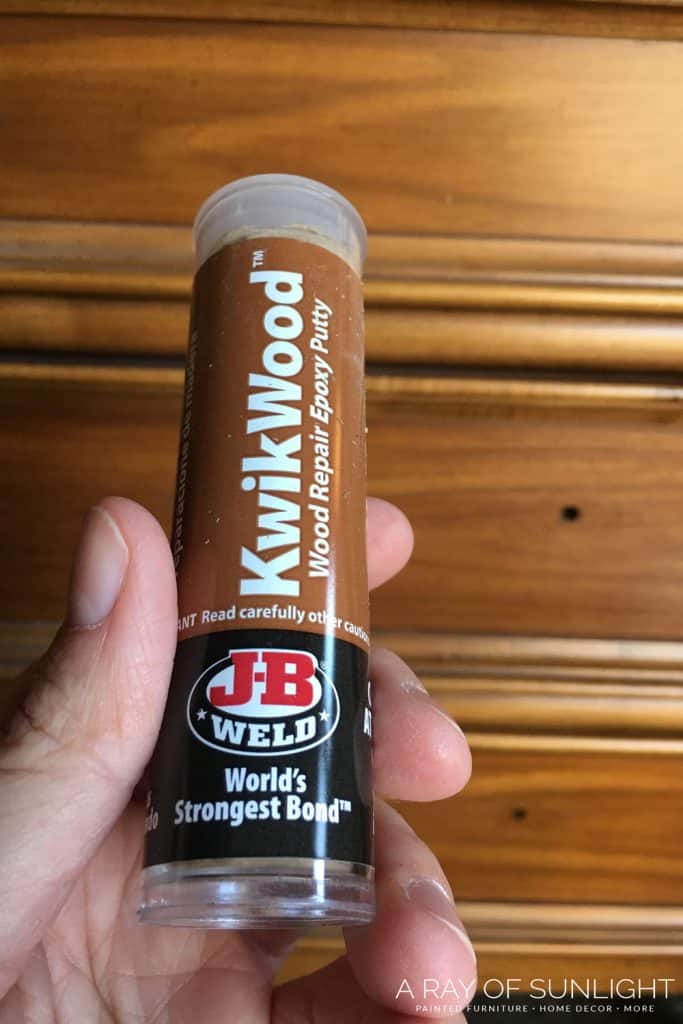
It dries hard like Bondo, but it takes a little bit longer to dry. It also has a longer work time, which is a lot easier to manage.
It comes in a little tube, and all you have to do is break off the amount you need, and knead it together in your hands. It’s the consistency of clay!
Wood epoxy does have a smell to it, but not anything like the strength of the smell of Bondo.
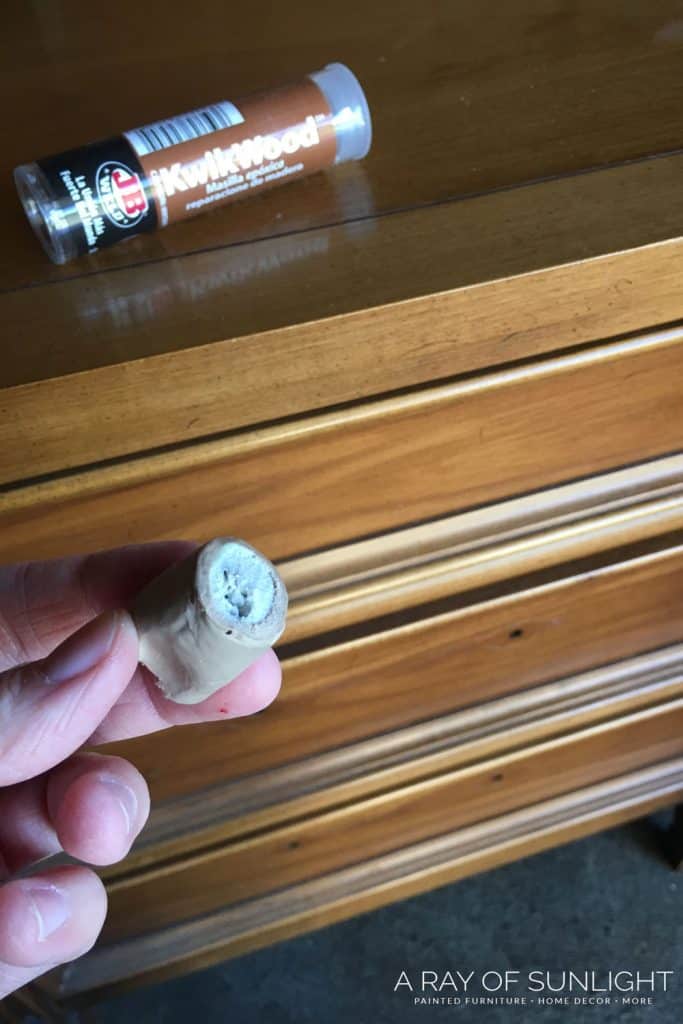
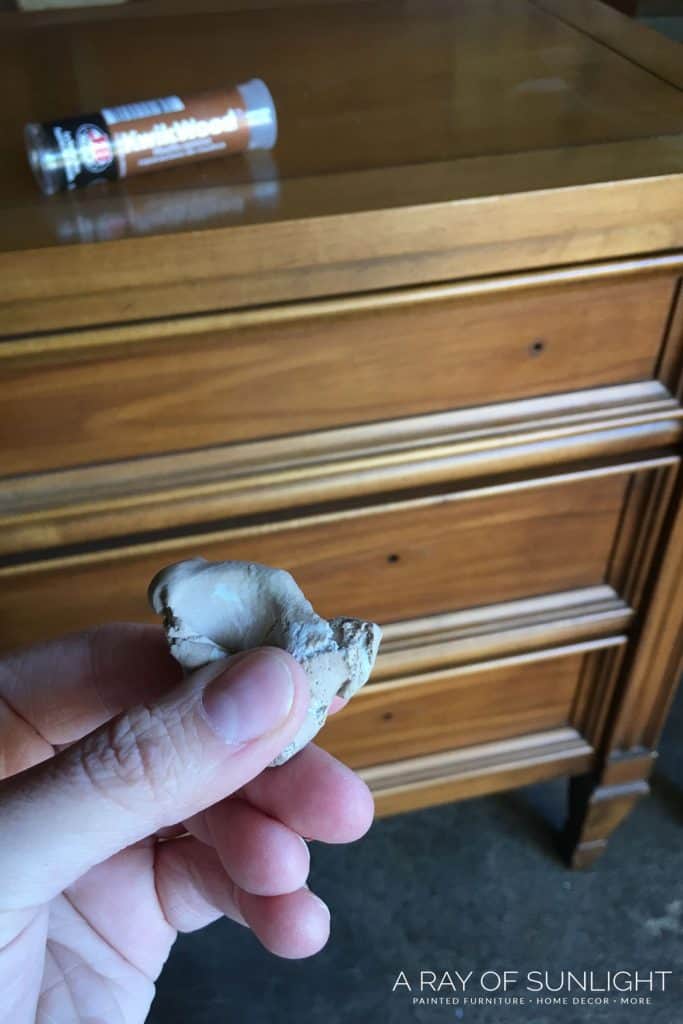
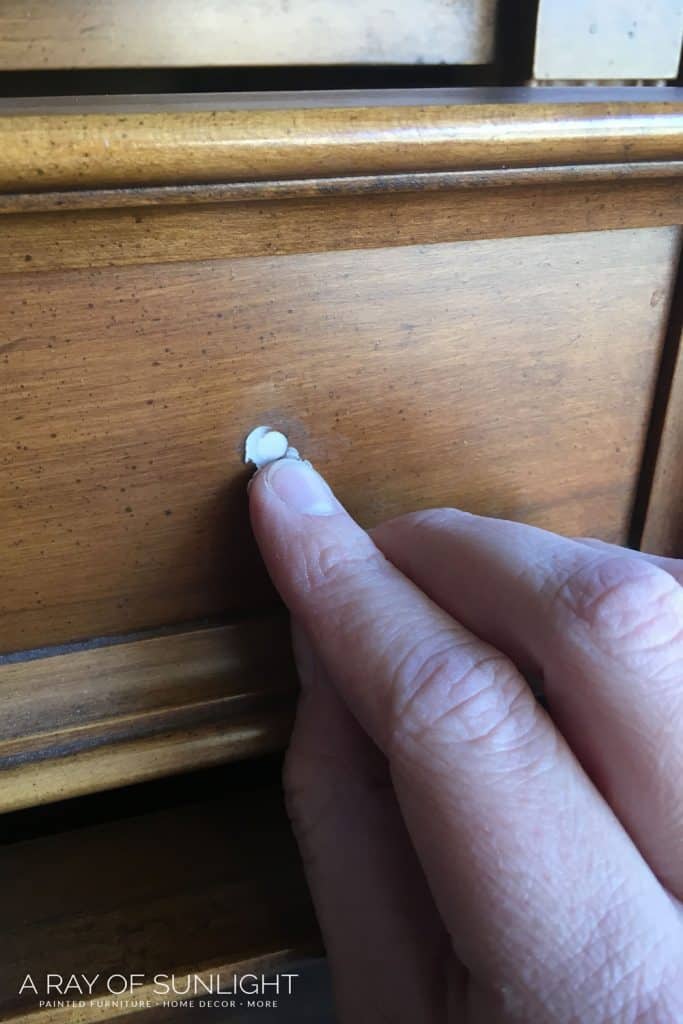
To fill hardware holes, just break it into small pieces and push it into the holes. You can add a little bit of water to make it easier to work with, and to spread it out a bit at the top of the hole.
After it is dry (about an hour), you can sand it down smooth.
Wood epoxy doesn’t shrink, and it doesn’t have air bubbles in it like Bondo, so if you slightly overfill the hole, and then sand it down once it’s dry, you should be good to go!
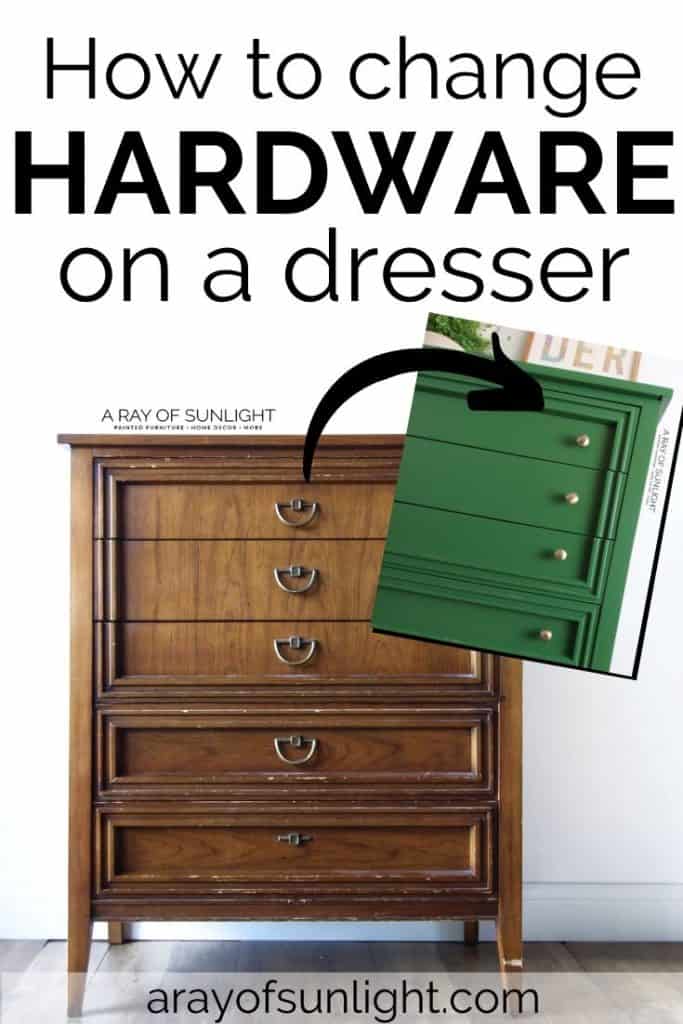
Learn more about wood epoxy (specifically KwikWood), and drilling new holes for hardware in this green painted modern dresser makeover.
How to Fill in Old Hardware Holes
- Remove the old dresser hardware.
- You may want to place a piece of painters tape over the holes inside of the drawer to make sure the filler doesn’t ooze into the drawer.
- Grab your filler of choice (wood filler, Bondo or KwikWood), and fill the holes in. Be sure to overfill them just a bit.
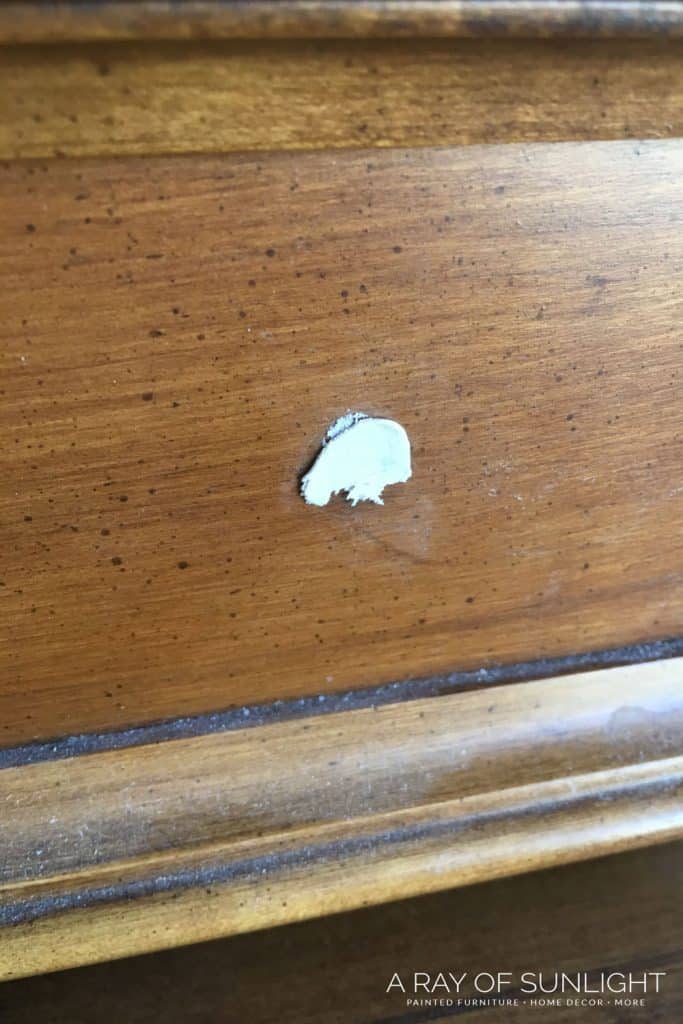
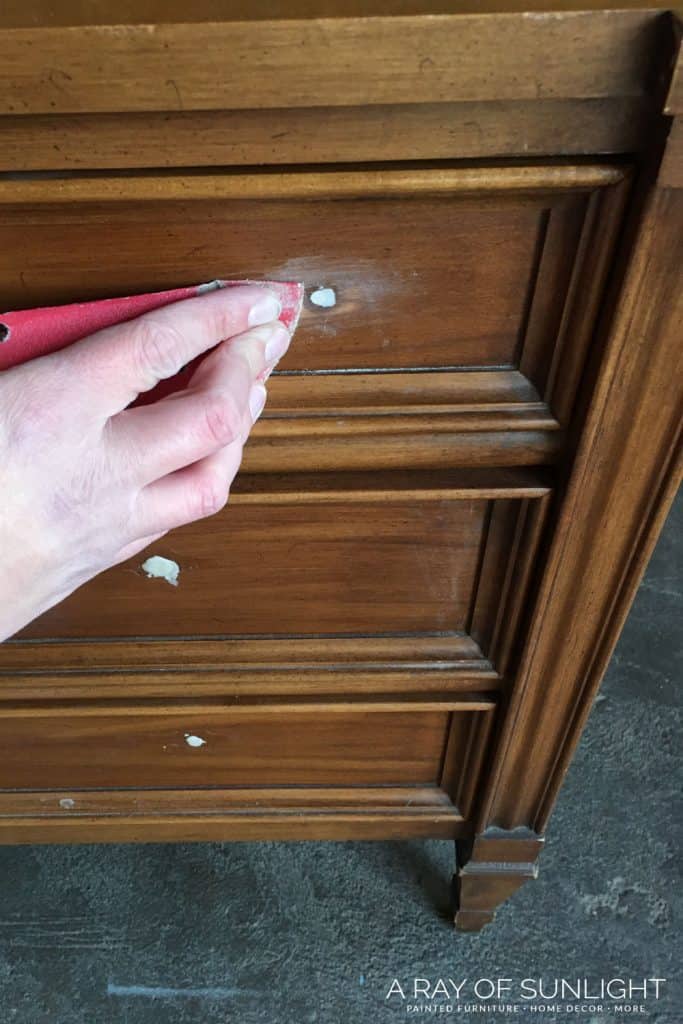
- Once your filler of choice is dry, sand it down smooth so it is flush with the drawer front.
- Repeat as necessary (according to the type of filler you are using).
- If the hardware left dents in your wood, fill the small impressions with wood filler – following the same process.
- One last thing to ensure the best results is to spray shellac over the filler. This helps the paint look it’s very best over the filled in area!
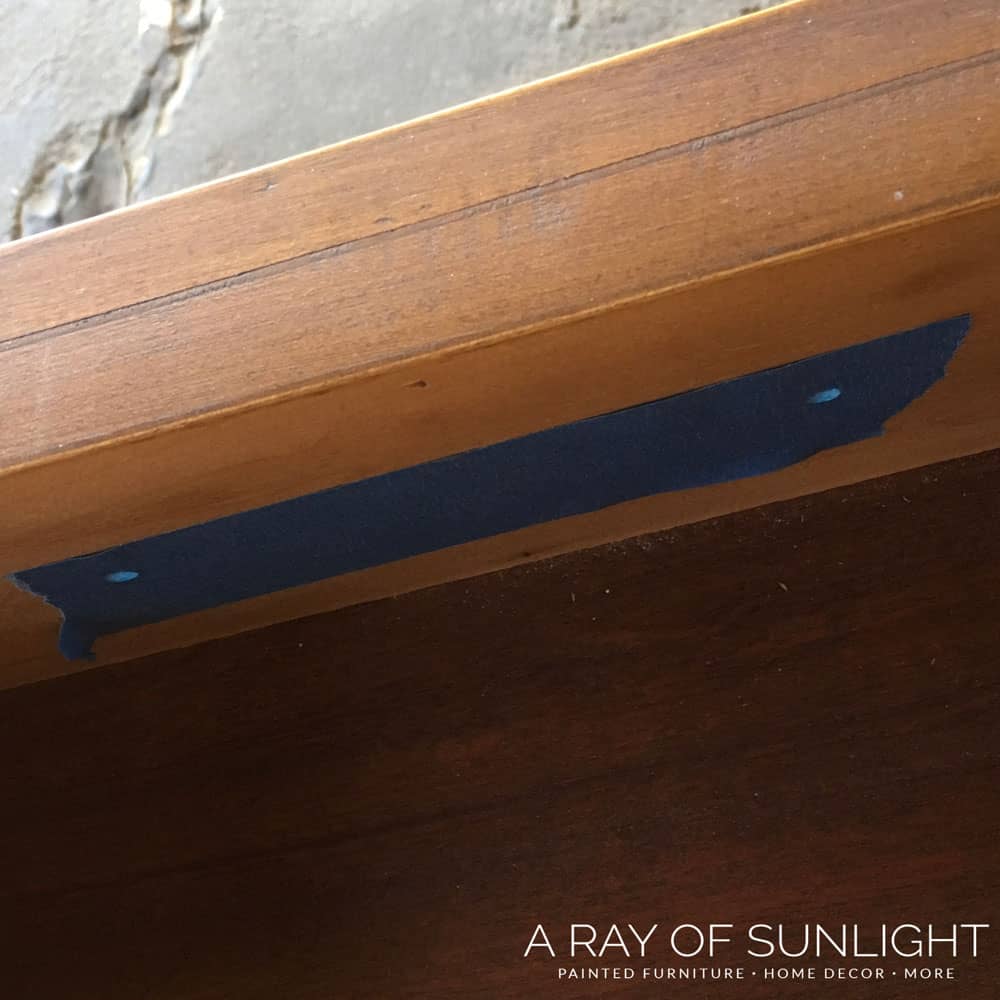
How to Make New Holes for Hardware
With your old holes filled, now is a great time to drill new holes for the new hardware.
You really really really want to drill your new holes before you paint. If you mess up, you can fill them in, and redrill them. But if you have already painted, you’ll have to touch up those areas.
I’ve made that mistake way too much. So, decide where you want the new hardware to be, and then measure to where the holes need to be drilled. Mark it with a pen.
Make sure that each piece of hardware is the same distance from the edges. This KREG cabinet hardware jig is a such a good tool to help with that!
I like this one specifically because you can adjust it to so many different sizes. The cheaper ones that have specific sizes and measurements, don’t seem ever to be what I need.
Now you’re ready to paint your furniture!! If you’re new to painting furniture, here is our beginner’s guide on how to paint furniture!
How to Paint Dresser Hardware
If you like the hardware, you can paint it! It’s super simple, but here’s how to paint dresser hardware.
- First things first, remove the hardware and find a clean cardboard box to paint them on.
- Take the hardware pieces apart if they come apart.
- Make sure to clean the hardware really well (I love to use Krud Kutter) to remove any grease and grime build up over the years.
- Then give them a light scuff sanding with 220 grit sandpaper. This will really help the paint stick to the hardware, resulting in longer-lasting hardware!
- Next, clean off all the dust.
My go to method is to spray paint hardware. The spray makes it easy to get into all the details without getting too much paint everywhere.
What Spray Paint Should I Use for Dresser Knobs?
Before painting dresser hardware, we need to prime the hardware.
Yes, the spray paint says that it will stick to metal, but in my experience, it easily scratches off over time. But a coat or two of primer will help prevent the scratches.
Once the primer is dry, you can spray a couple of coats of metallic spray paint. Be sure to read the label of your spray can for application instructions.
I typically choose a Rustoleum Universal spray paint. It says that you can use it on metal (most hardware is metal), so that’s perfect!
I love that the metallic spray paint also has a sheen to it that makes it look more real.
When spray painting from a spray can keep your distance from the hardware so you get a light mist of paint on the hardware. Too much paint will result in dripping paint.
With a light mist, you can go back and forth a few times to get a nice thin coat.
When your metallic paint is dry, it’s best to put a few coats of a topcoat on to once again help your new finish last longer without scratching.
This may take a little bit of the metallic sheen away, but the way it will protect it is much more important for a lasting finish. Here is another great tutorial on how to paint drawer pulls.
Are your dresser drawers giving you issues?? Learn how to fix old dresser drawers that stick in this post. Or learn how to fix old dresser drawers from falling out here.
Happy painting!!
How To Change Hardware On A Dresser
Changing hardware on a dresser is the easiest way to update the overall look. So let’s dive into how to change hardware on a dresser!
Materials
Instructions
- Remove the old dresser hardware.
- Place a piece of painters tape over the holes inside of the drawer to make sure the filler doesn’t ooze into the drawer.
- Grab your filler of choice (wood filler, Bondo or KwikWood), and fill the holes in. Be sure to overfill them just a bit.
- Once your filler dries, sand it down smooth so it is flush with the drawer front.
- Repeat as necessary (according to the type of filler you are using).
- If the hardware left dents in your wood, fill the small impressions with wood filler – following the same process.
- Spray shellac over the filler to help paint look its very best over the filled in area.
- Drill the new hardware holes before you paint.
- For painting hardware, clean them really well with Krud Kutter and give them a light scuff sanding.
- Apply a coat or two of primer onto your hardware to help prevent the scratches. Once the primer is dry, now paint your hardware.
- When the paint dries, put a few coats of topcoat on to once again help your new finish last longer without scratching.
Recommended Products
As an Amazon Associate and member of other affiliate programs, I earn from qualifying purchases.

More Repairing Furniture Resources
- Repairing Veneer with Wood Filler
- How to Fix a Chipped Wood Corner
- How to Fix Chipped Wood Furniture
- How To Fix Dog Chewed Wood Trim
- How To Repair Damaged Wood Finish

Follow us on YouTube to get more tips for painting furniture.
Or share your project with us on our Facebook Group and be part of our community. See you there!
Hi Natalie,
Thx for the tip! I can’t stand having to constantly buy wood fill and then it hardens on you and makes it unusable ugh. I’m going to definitely buy Kwik Wood. Happy new year!
Janet
So happy to help Janet!
Filling holes is the worst part of refinishing furniture and cabinets! Thank you for this-cant wait to try kwikwood, and I had to share this post on my fb page!
Hey Beth! Thank you so much! I hope you love the Kwikwood as much as I do!
What is the name of the color green on this dresser?
Love it! Susan
The makeover and supplies used for this green dresser is here The Green Painted Modern Dresser